Popular search
#Lighting #Exterior daylight
Lighting for day exteriors is one of the most difficult tasks for filmmaker. However, it is also can be the most significant professional ability for filmmaker.
Director Jameson Brooks will take you through two different lighting set ups only using one Godox VL300, and how he was able to use the sunlight as a tool.
Challenging project
Filming outside on a bright sunny day can be pretty challenging. That afternoon sun is high in the sky casting hard light, and harsh shadows. A lot of times your subject is either underexposed, or overexposed depending on the direction you’re shooting. Let’s look at two different lighting set ups, and how we were able to use the sunlight as our tool.
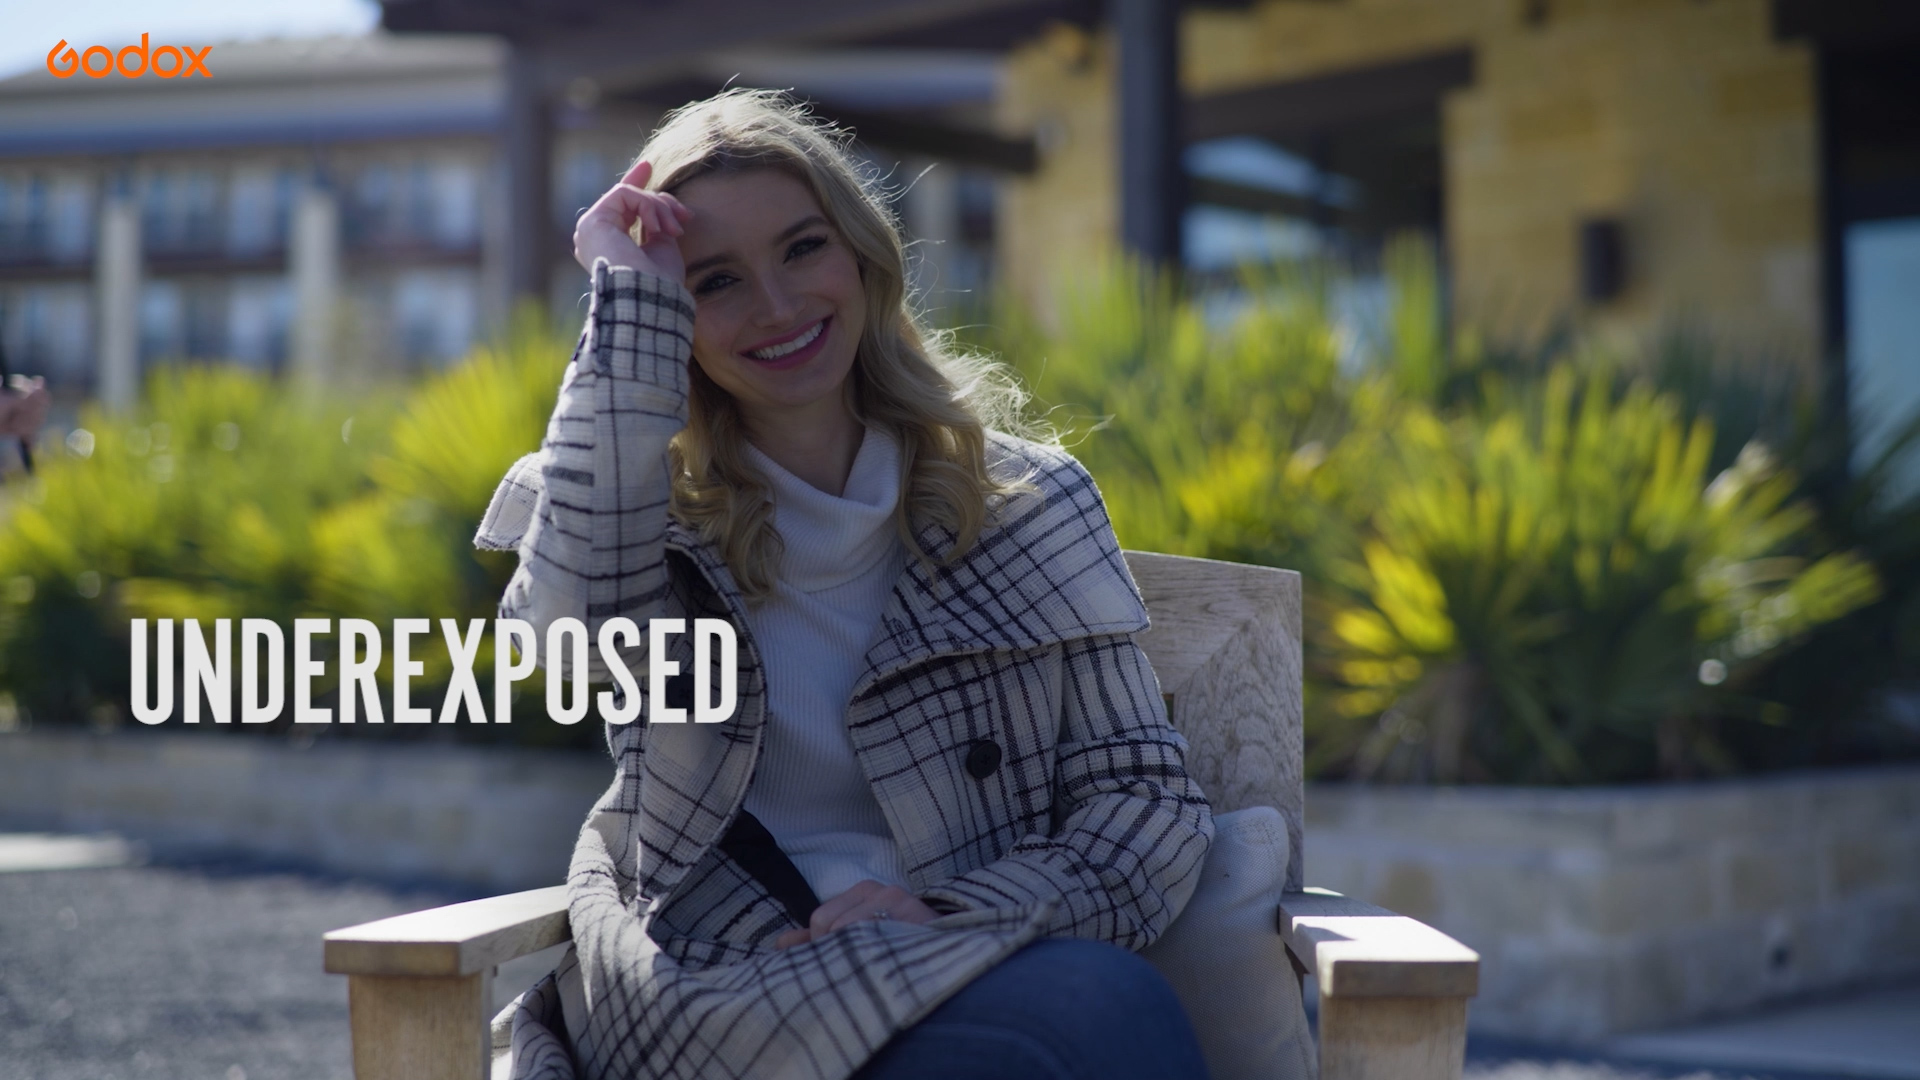

The first set up
First off, choose your angle. Using the sun to backlight your subject is always a good starting point. Placing the sunlight behind your subject helps give them dimension, and also pulls your subject away from the background. Next, you’ll want to find nice background that has plenty of contrast to your subject. We are shooting in the middle of winter, so most of the environment was a light tan color. Not so good for separating the subject from the background.
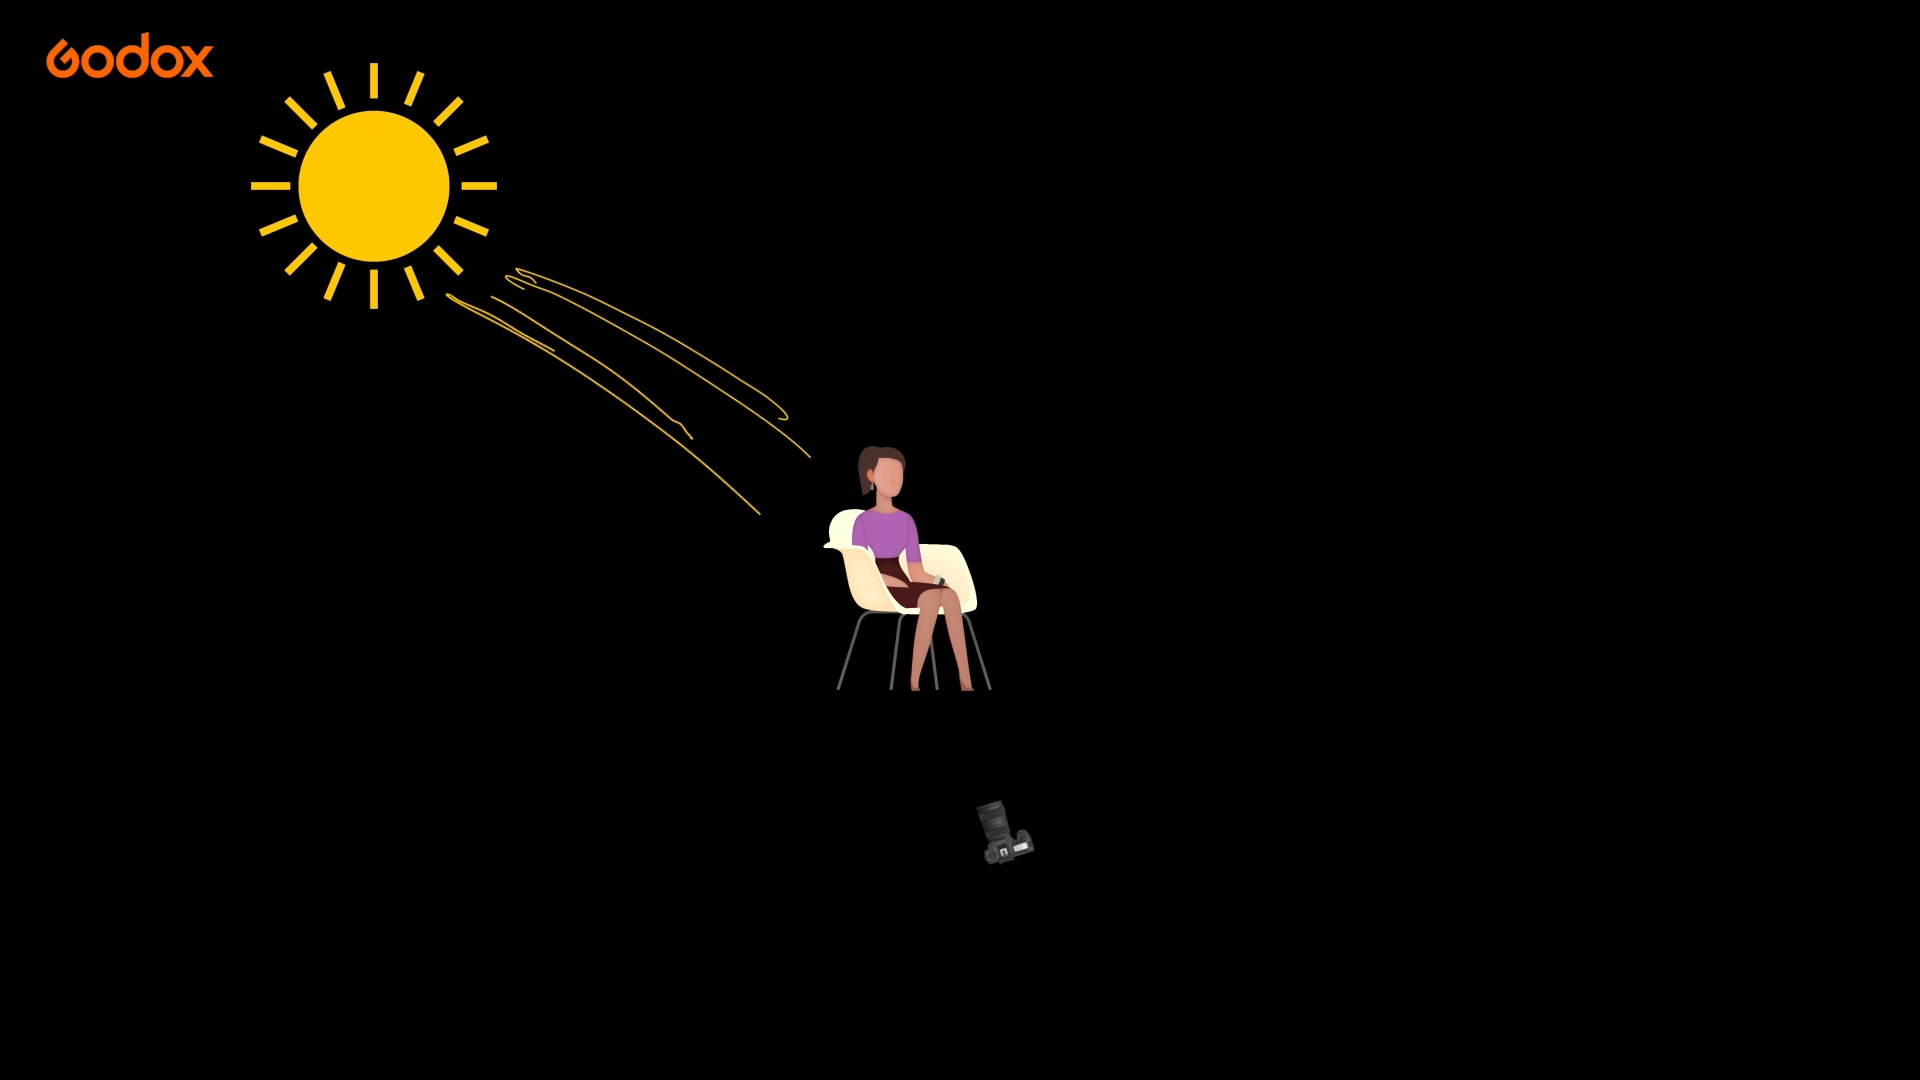
To help add contrast between the two, I chose to set up the subject in front of some green plants. The sun is back lighting these plants, as well, which gives them plenty of texture.
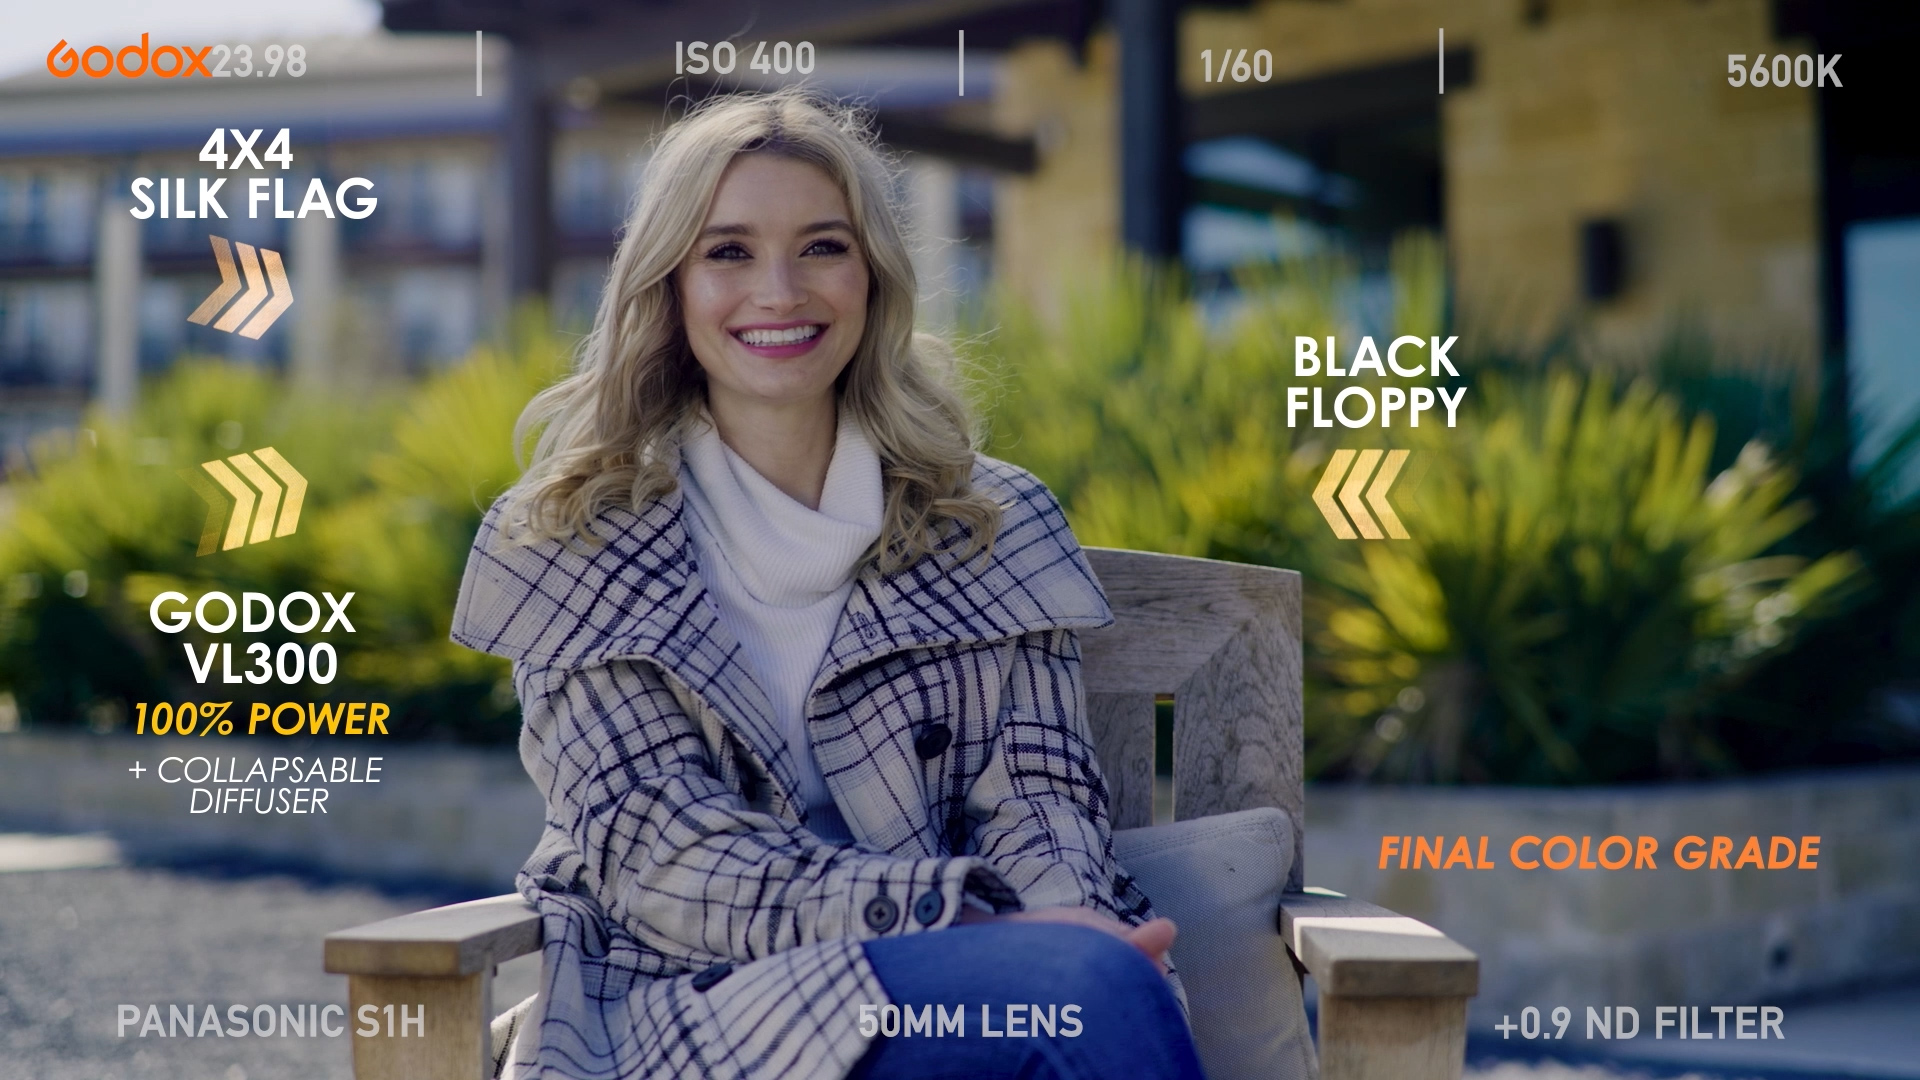
Now that we have established our angle, let’s set up our scene. When shooting in sunlight, you want to try to wrap the sunlight around the same side of your subject. This allows the light to look motivated and realistic.
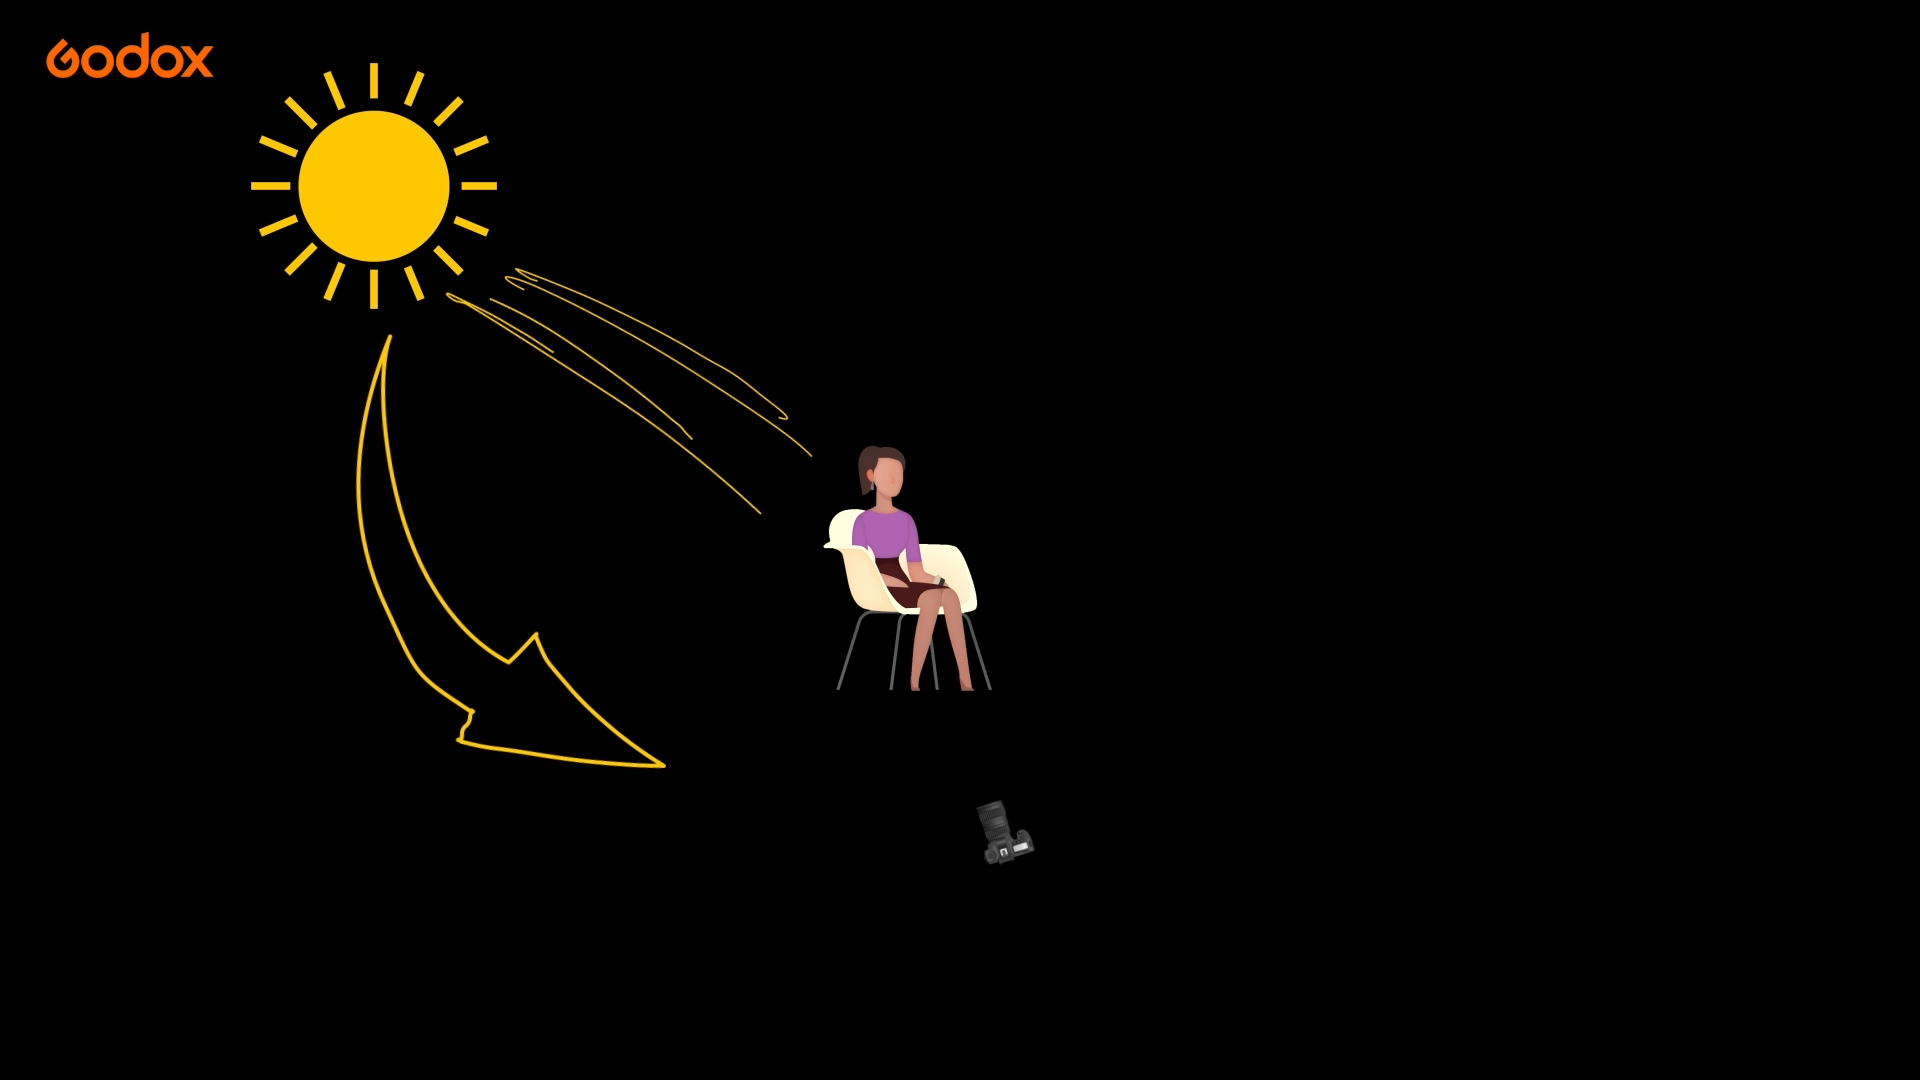
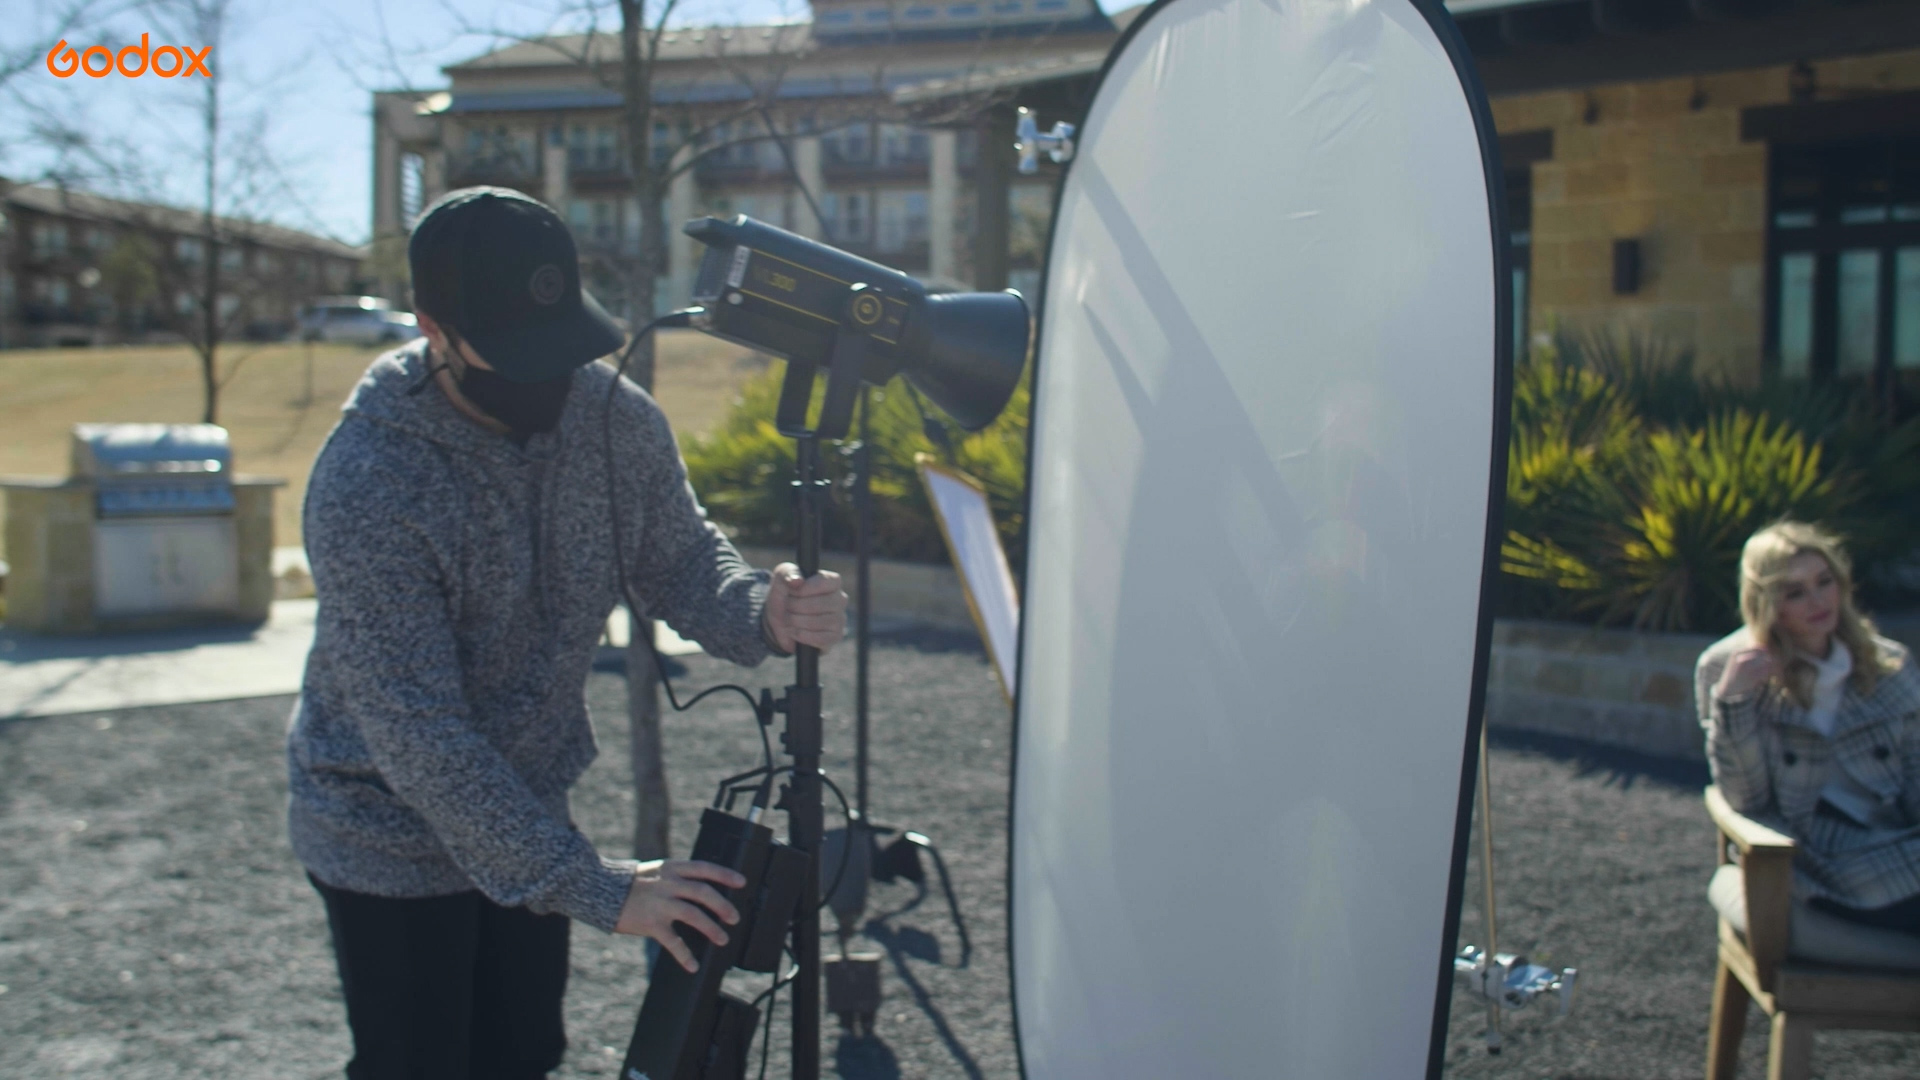
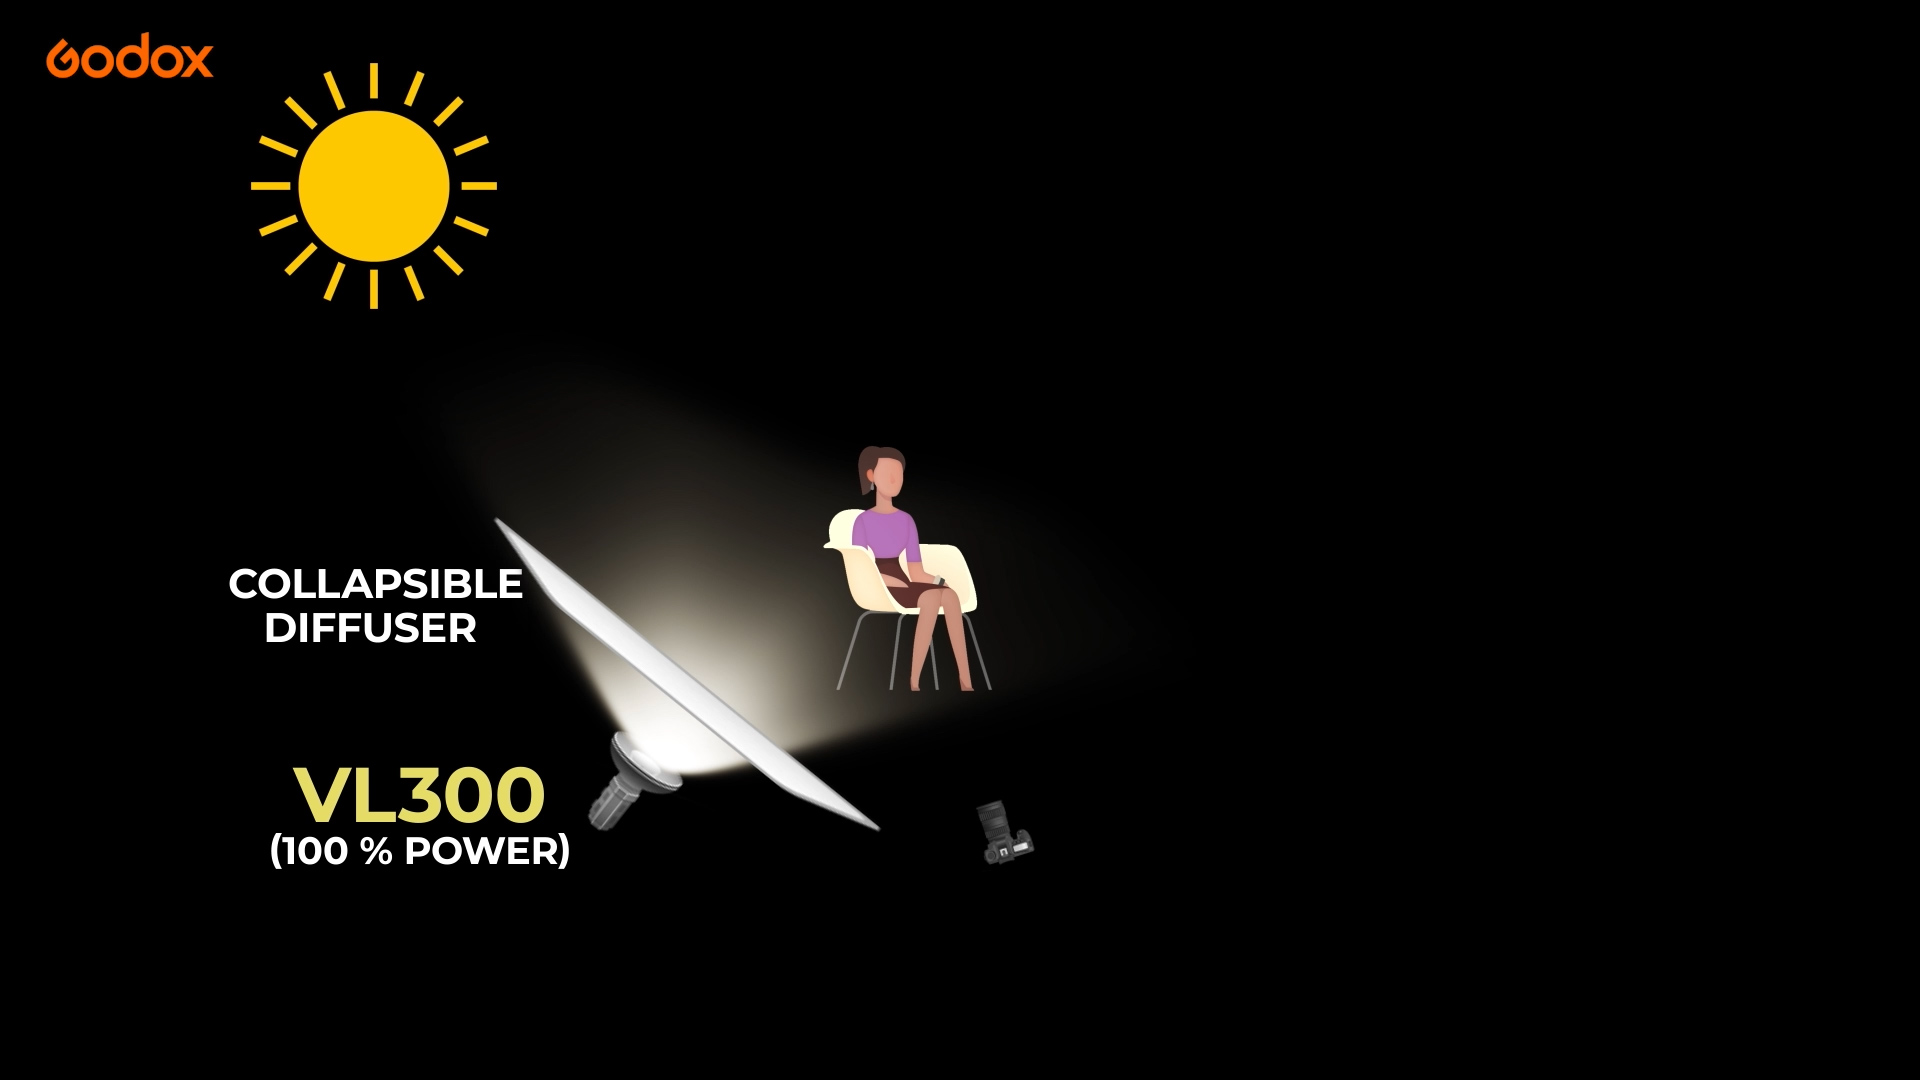
I set up a collapsable diffuser, and clamped it to two C-stands. I then brought in a Godox VL300. The VL300 at 100% power is actually brighter than the sun. It can be powered by 2 V-mount Batteries which is exactly what we needed since we didn’t have access to a power source. Shining the bright VL300 through the collapsable diffuser illuminates the subject with soft natural looking light.
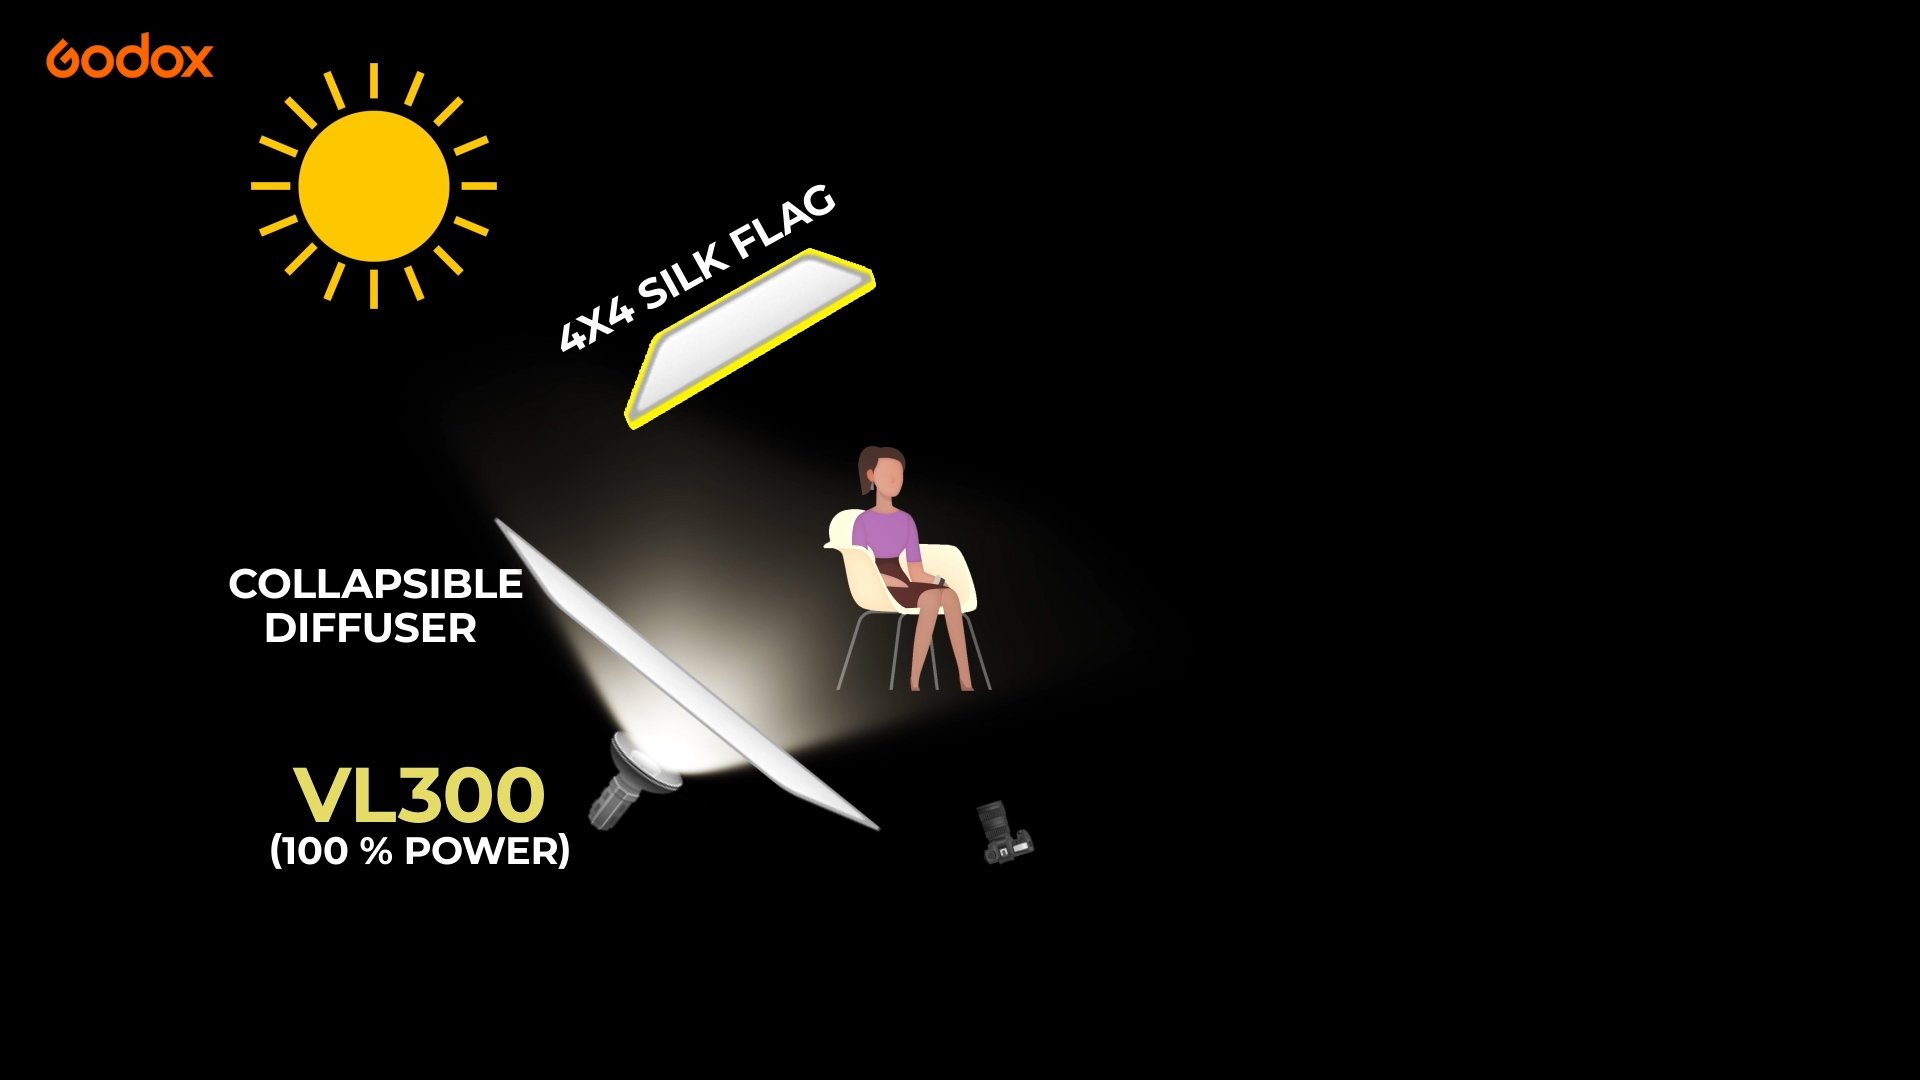
Because of her blonde air, the backlit sun was blowing out the highlights of the image. To help with this, we brought in a 4x4 silk flag to help soften the sun light on her backside. This allows her to remain backlit, but now with softer, smoother roll off.
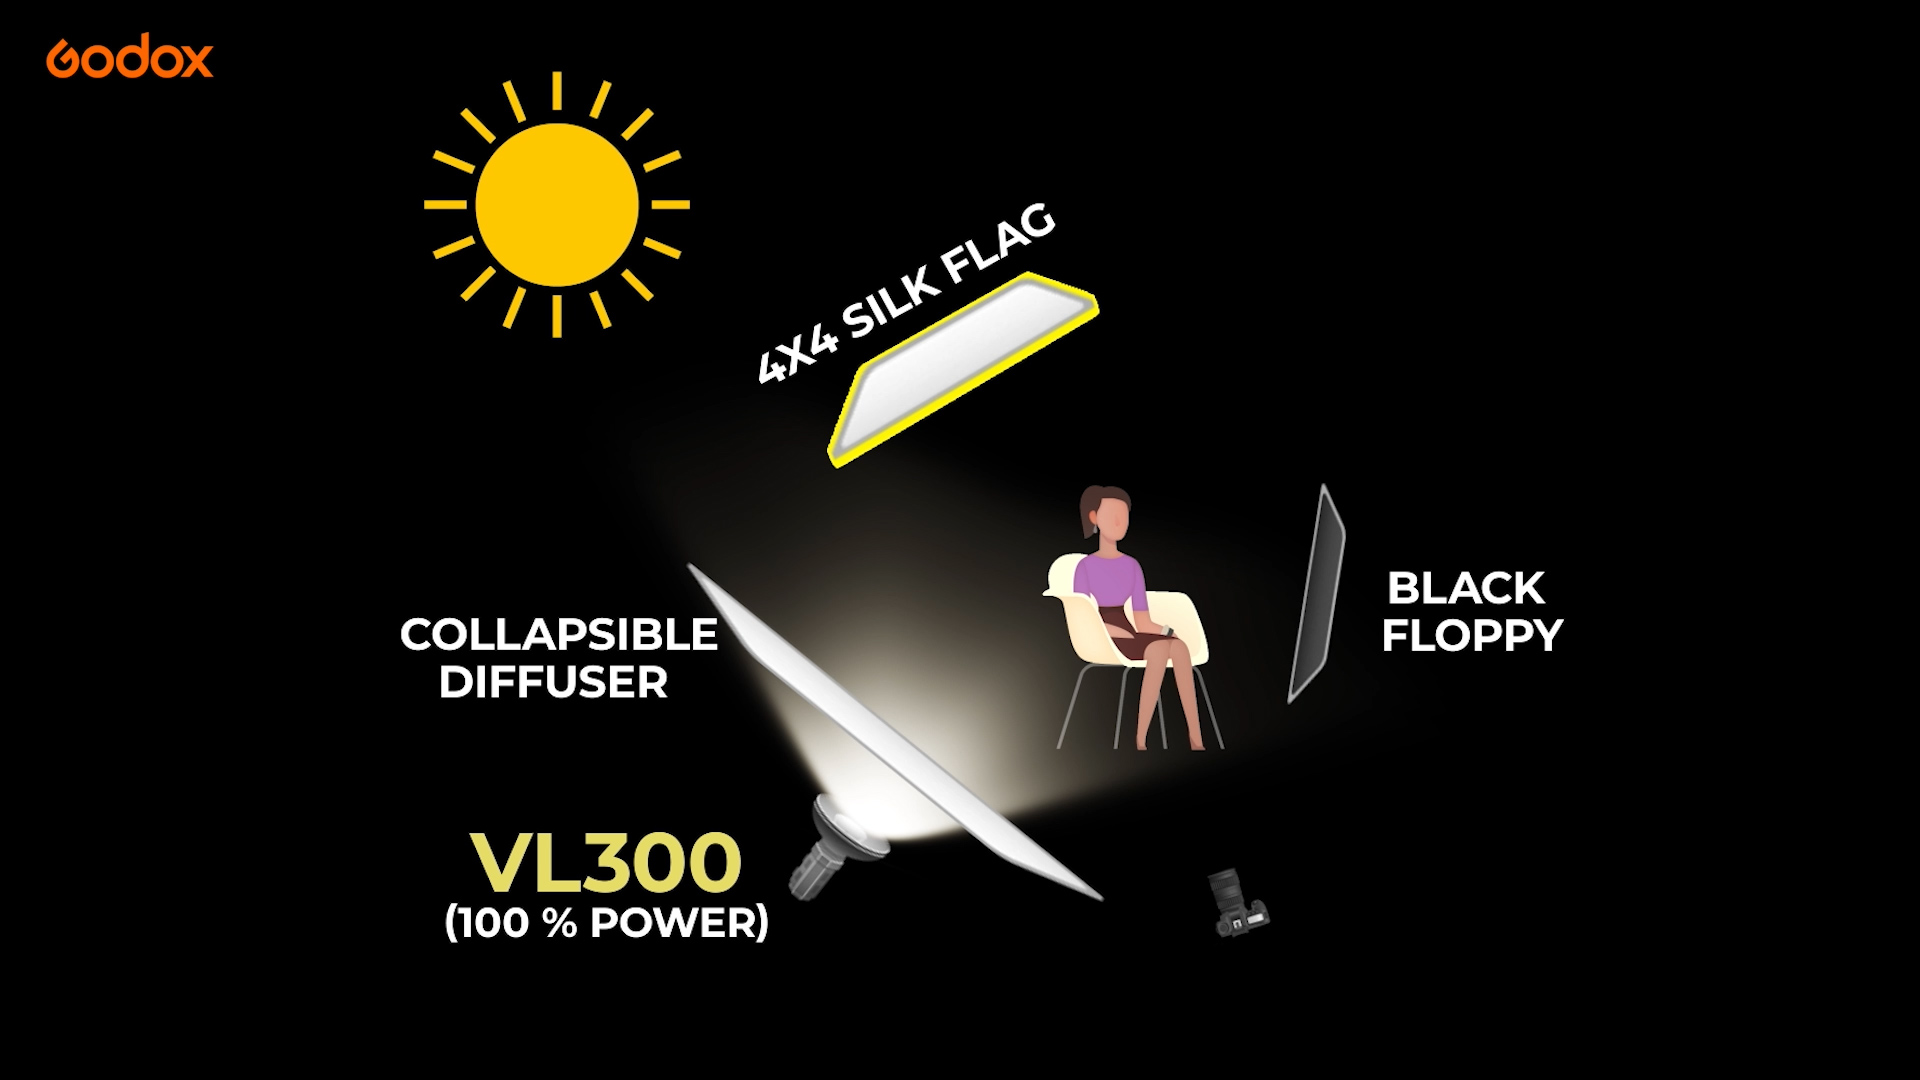
From here, I added a flag to her opposite side to help reduce the amount of light bouncing off of the ground. This helps shape the light on the right side of her face. This is called negative fill, and helps the subject have an extra layer of dimension.
Using the sun as front key light
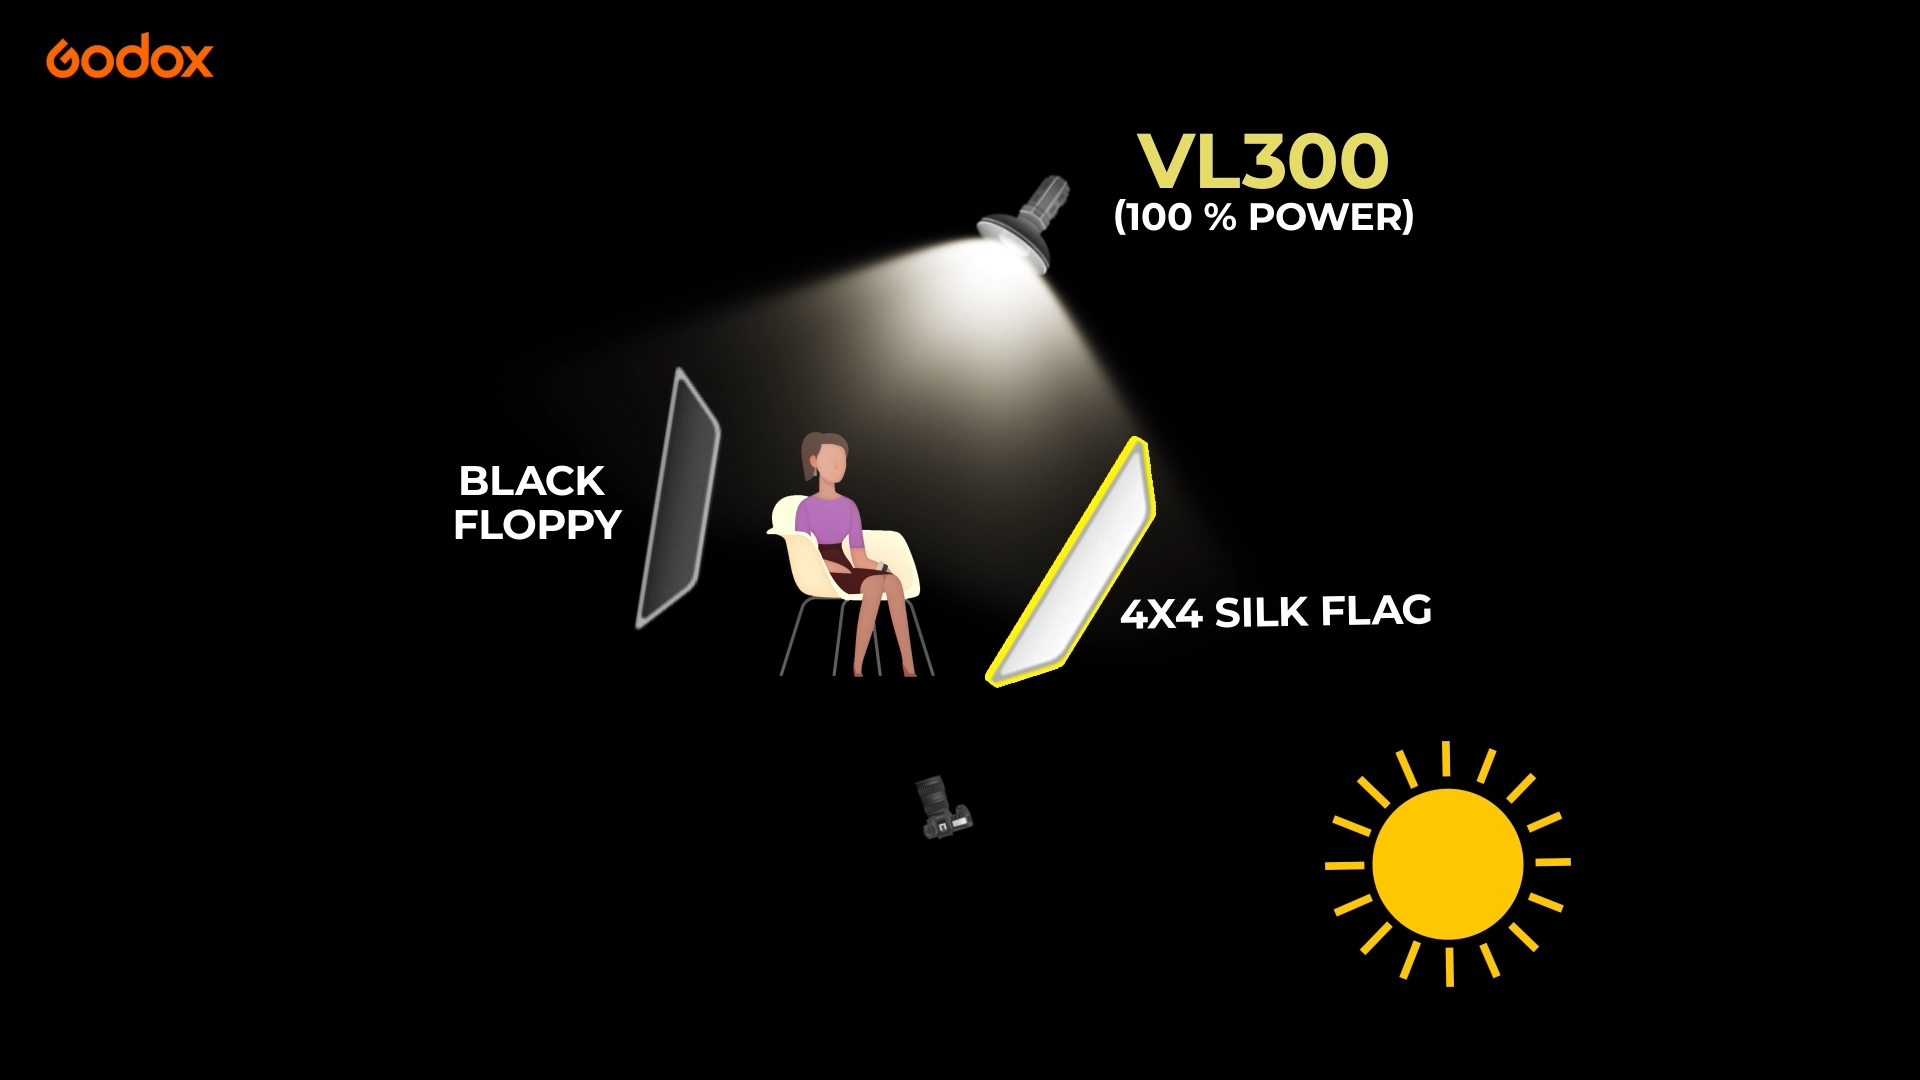
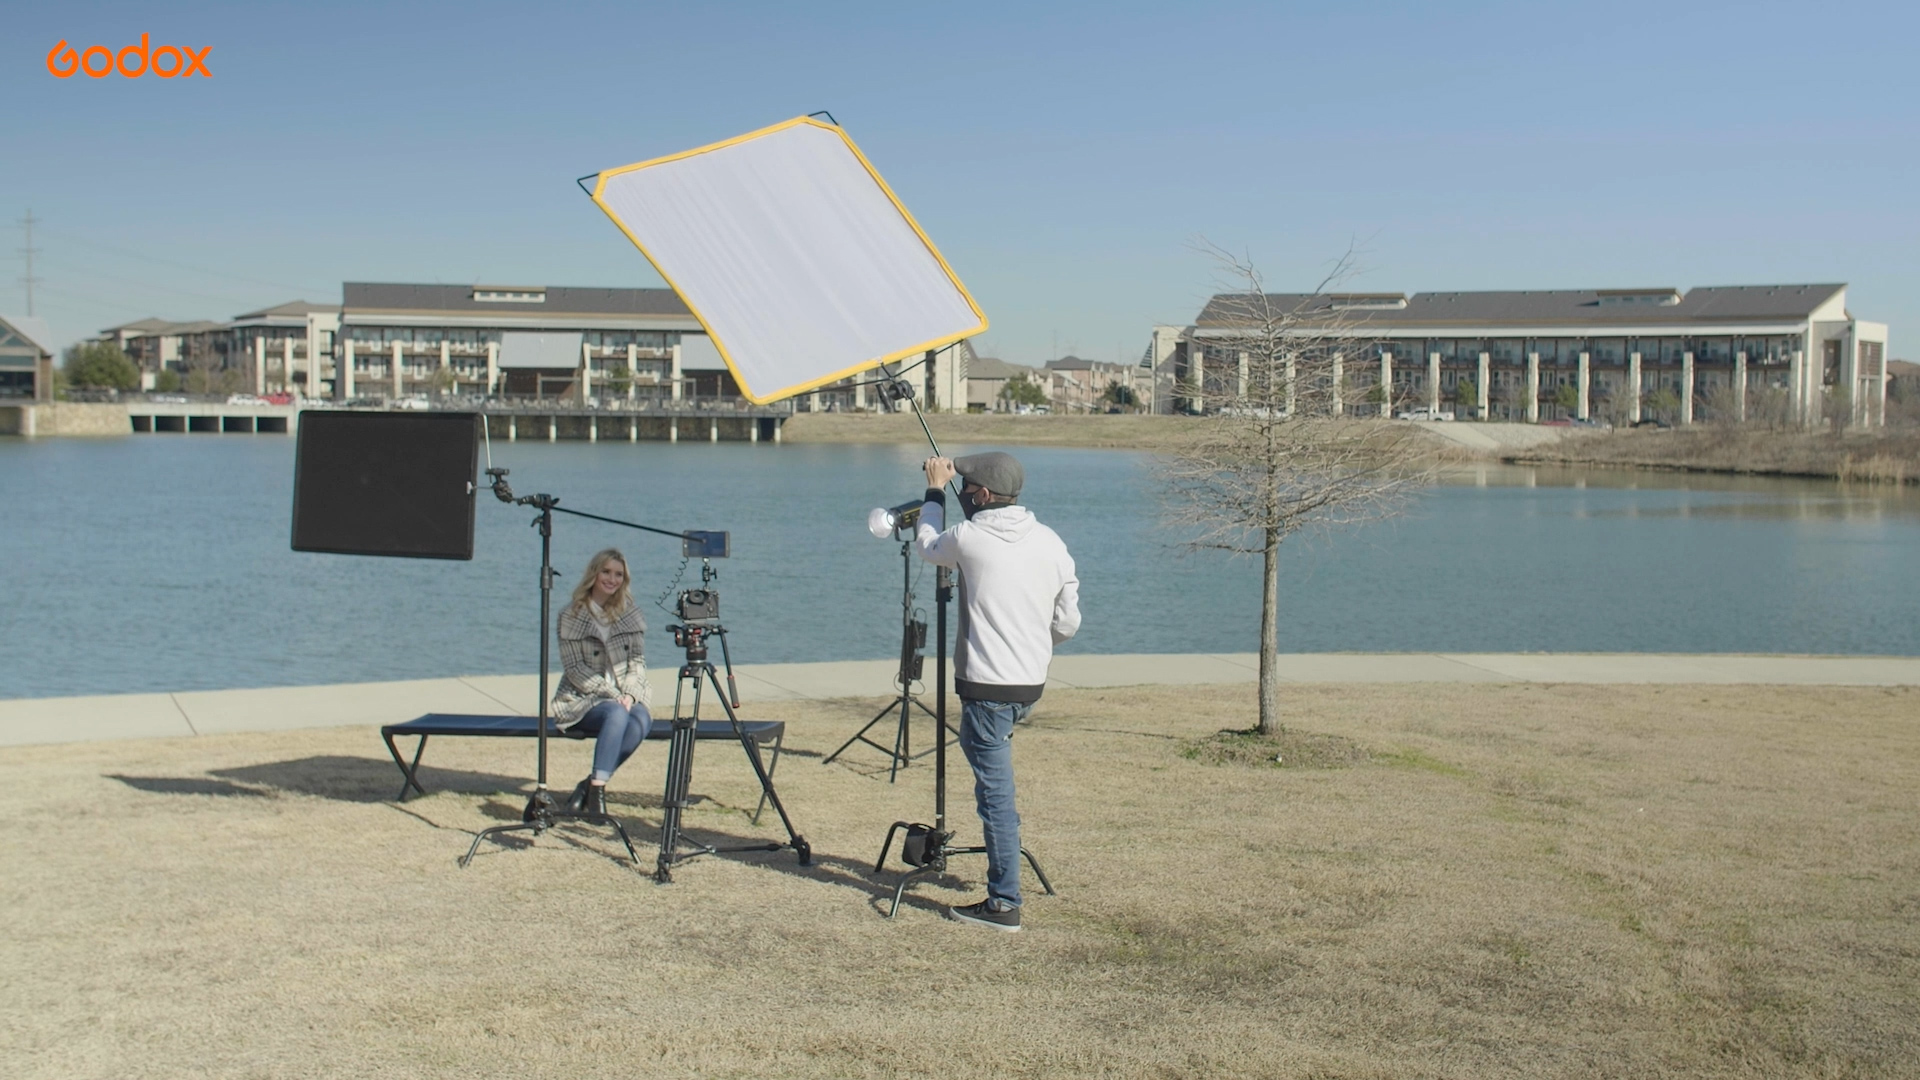
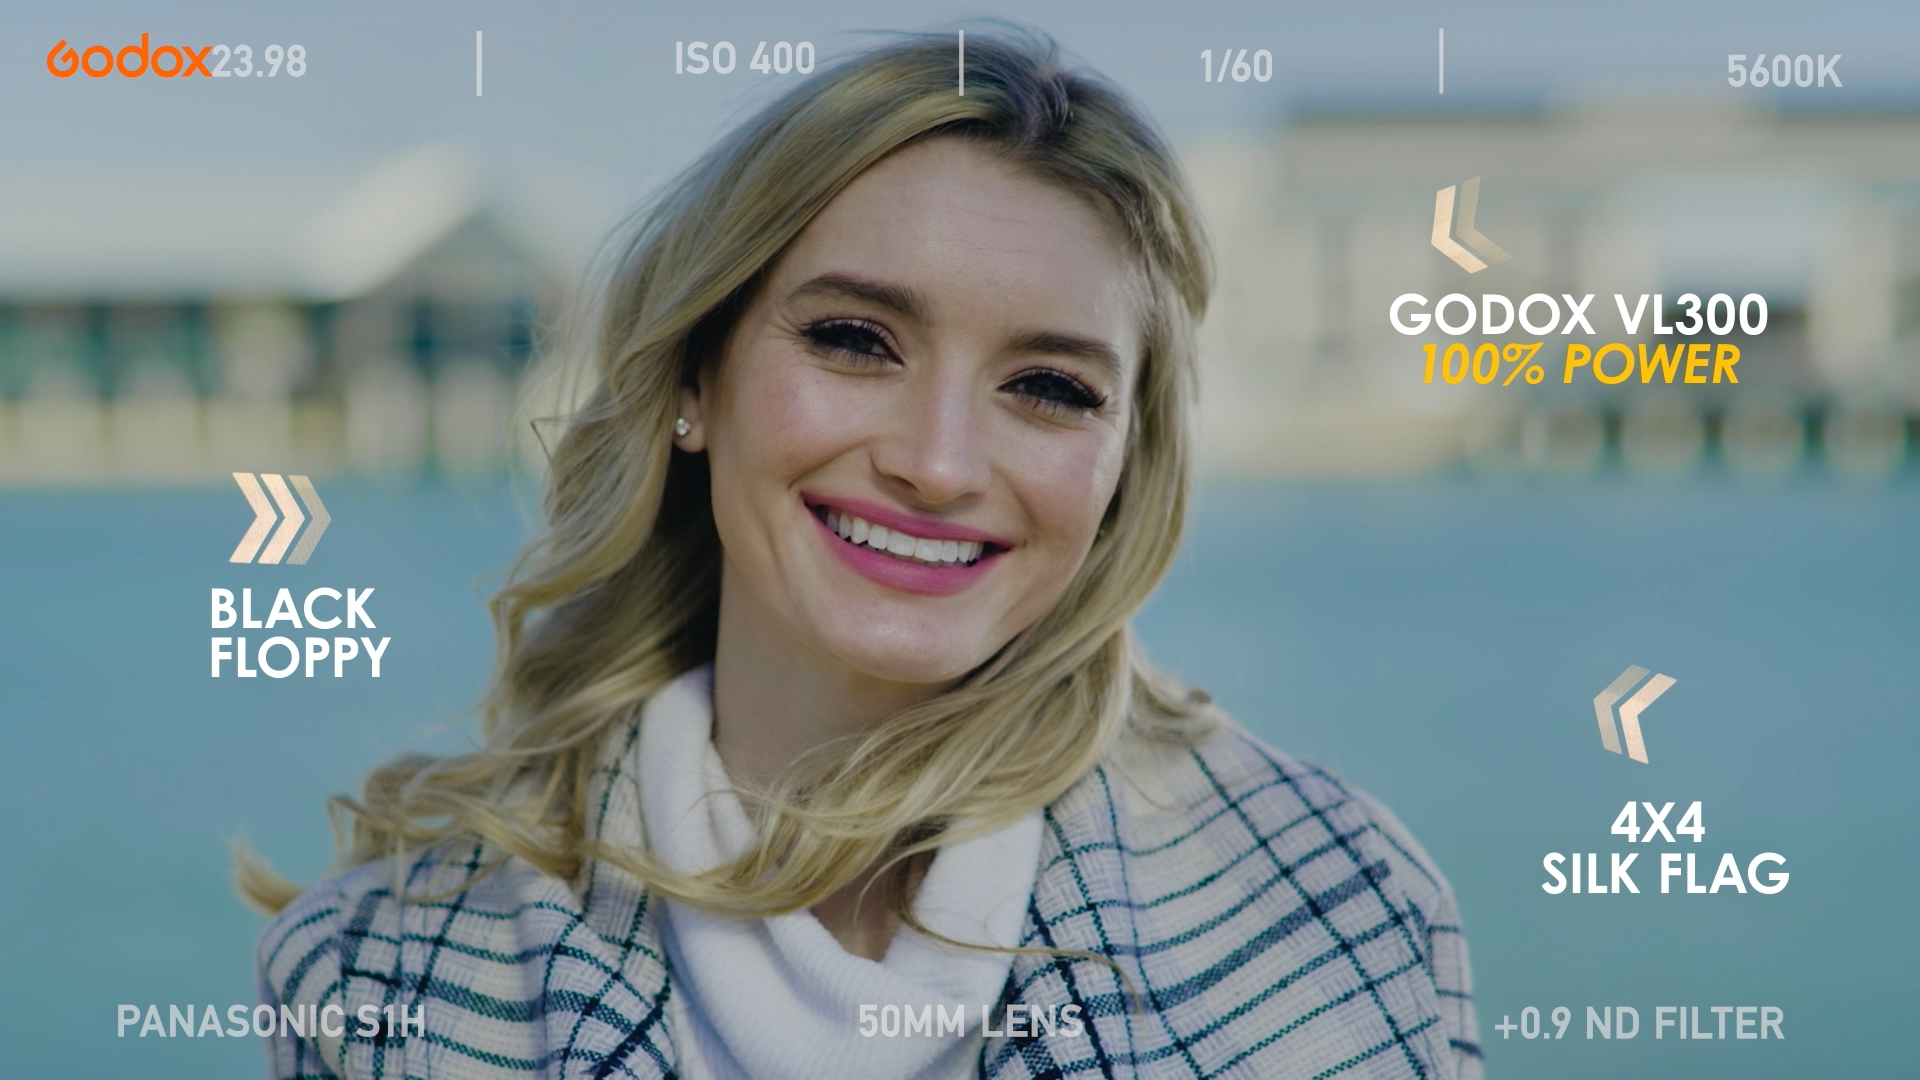
Now, let’s look at another set up, this time using the sun as our front key light. Once again, pick a background with good contrast in relation to your subject. Here, I chose the blue from the water and sky. Shooting with hard direct sun as your key light will completely blow out your subject, and will not give you a very flattering result. Plus the bright light can be pretty tough on the talent.
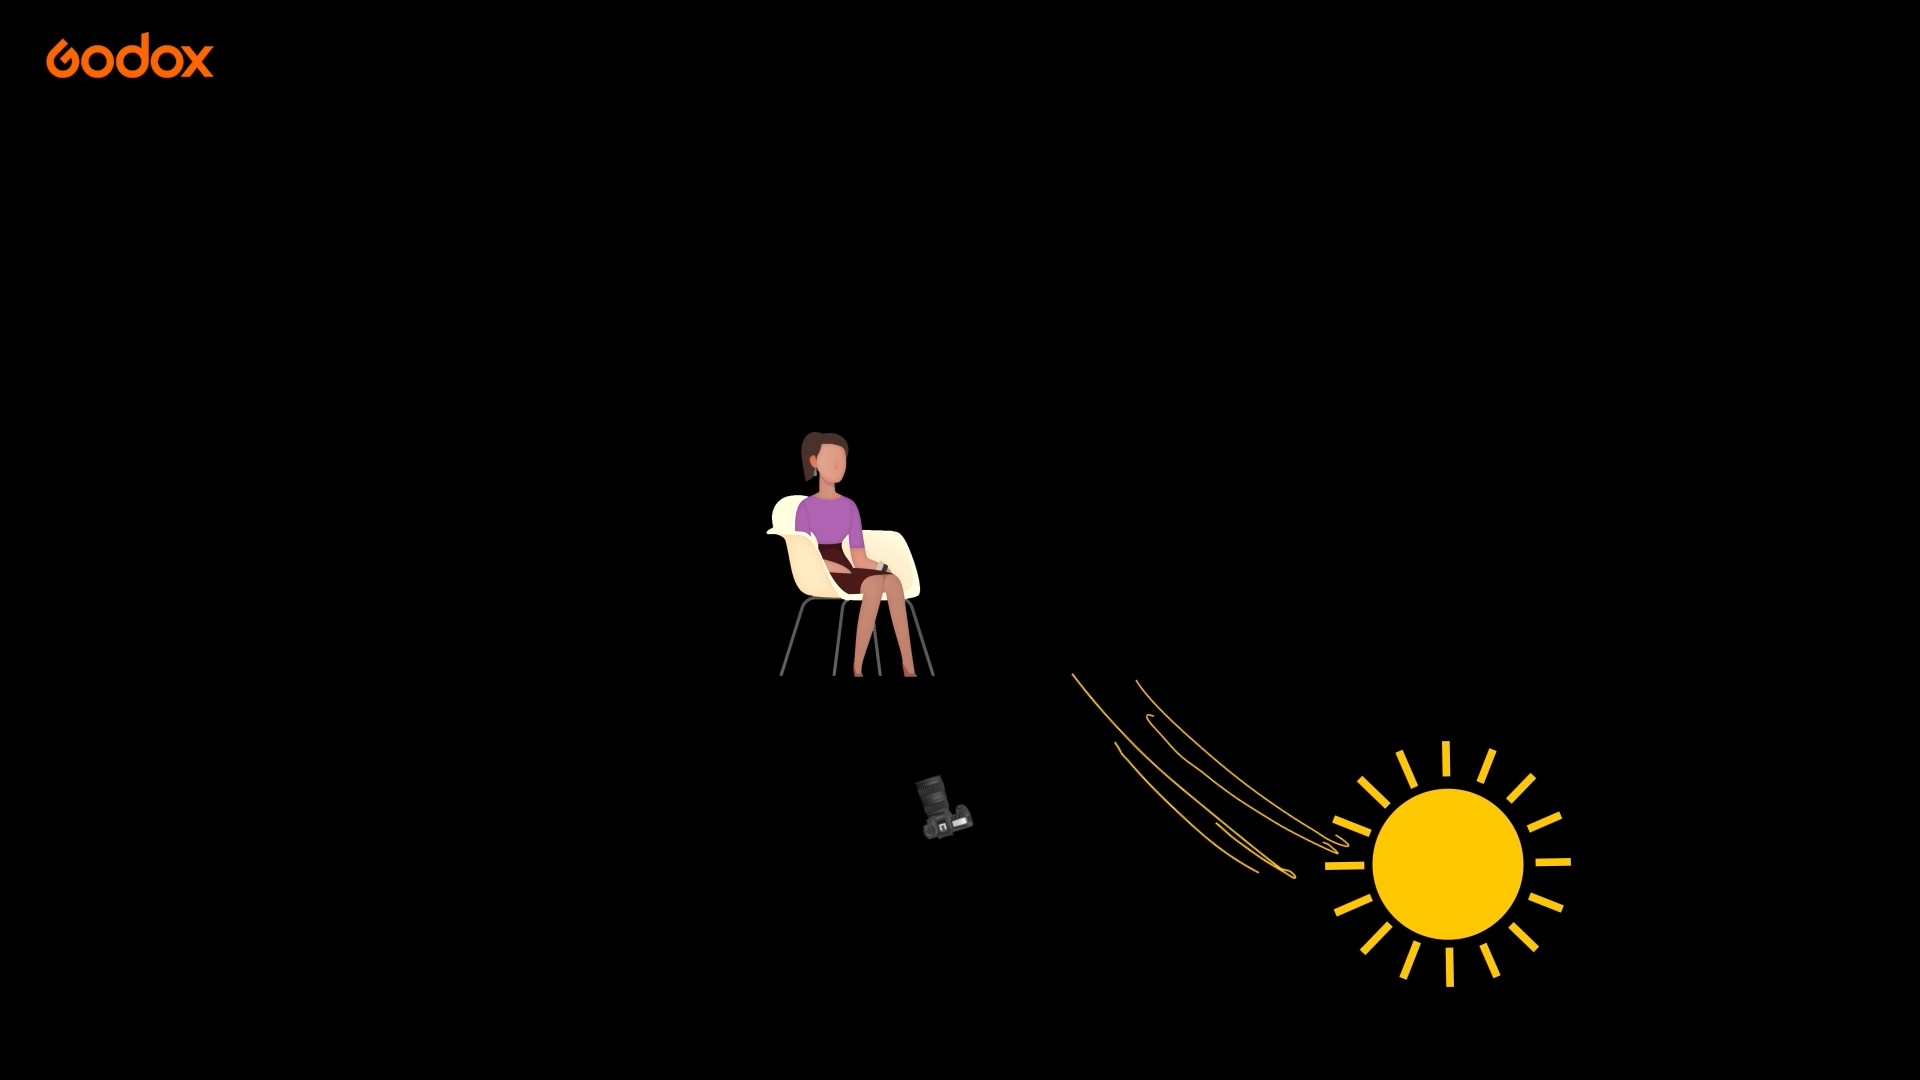
To help with this, we placed a 4x4 silk flag to diffuse the hard light. This greatly reduces the brightness of the sun, and softens the overall light falling onto her face.
From here, I added a VL300 as the backlight. Once again, I was able to power the light with V-mount batteries. This light helps create a rim around the subject, and separates her from the background. I placed the light on the same side as the Key light as if we are wrapping the sun around this side of the subject. This way the light still feels motivated and natural. The last step is once again adding a flag to the opposite side of the subject to create negative fill which adds a touch of shape to the subject’s face.
