Popular search
#Documentary interviews #filmmaking
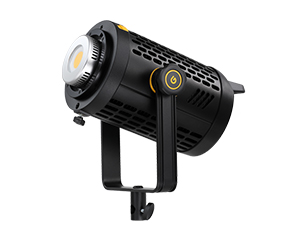
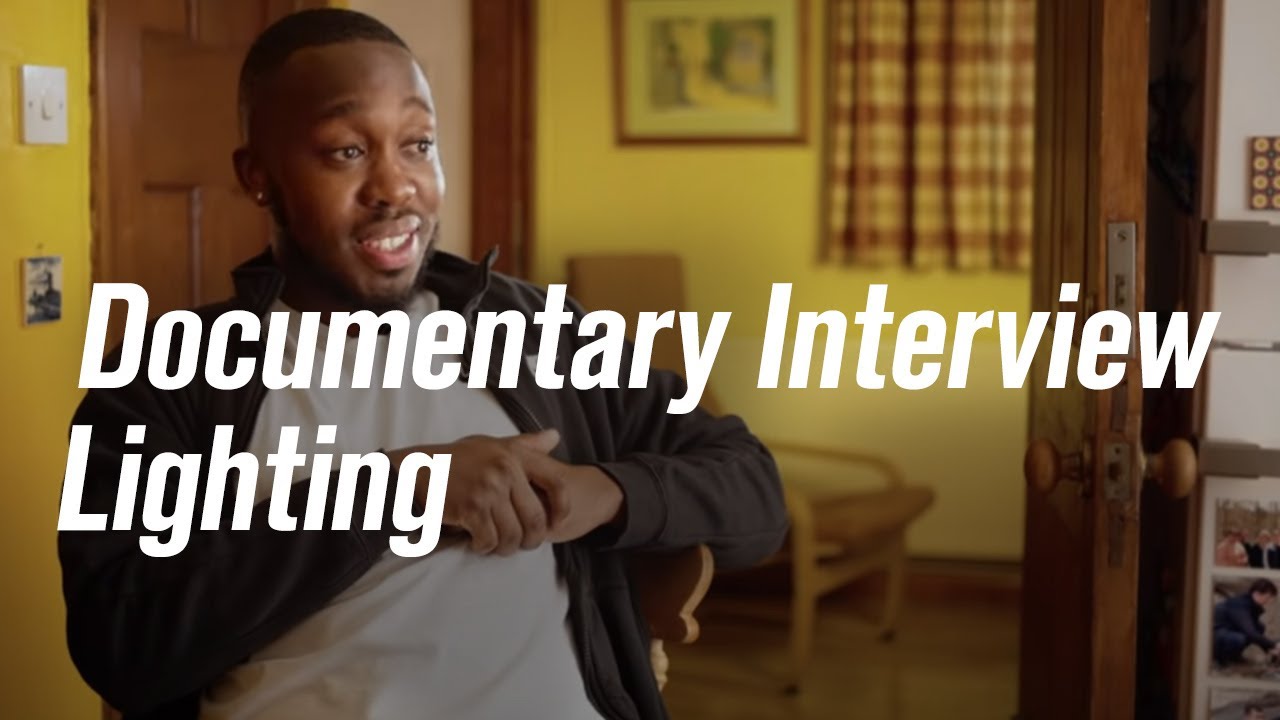
Lights add an extremely important element to documentary interview and being intentional about how to light your subject will make your work unique. Filmmaker Simon Cade will introduce you how to light with UL150 for two different camera angles when you're filming in someone's house, where there's usually less space than in a studio.
"I've learned a lot recently about shooting interviews - it's a fascinating and delicate process as you walk the line between directing the conversation and maintaining an informal and comfortable environment. The UL150's combination of powerful output and silent operation make it incredibly versatile, so we can focus on creating the best image and atmosphere, without any concerns about the equipment." - Simon Cade
Lighting setup 1
I'm Simon Cade. I'm a freelance filmmaker and the host of the YouTube channel DSLR guide. This past year, I've been enjoying filming documentaries. And so I'd like to share what I've learned about lighting for two different camera angles when you're filming in someone's house, where there's usually less space than in a studio. Before any interview, it's worth writing down a list of questions. And usually, my goal is to tell the story in the most natural, conversational way possible.
Once I'm happy with my questions, I put them in a logical order, and mark a few in bold in case we start to run out of time, then I'll be able to see which questions are most important. Then, I print the questions out so I can avoid looking at a screen during the interview. Now, I really enjoy filming in natural light. But it's pretty common to get gradual changes in the lighting that make it difficult to keep a constant exposure. So this time, we're going to use just one Godox UL150, and a couple of accessories to light two different camera angles, so that we can shoot for hours without the lighting changing. This UL150 is completely silent since it doesn't have any cooling fans, which makes it ideal for interviews where sound quality is crucial. While setting up, I like to power the light with a V-mount battery, so I can move the light easily, without lots of cables. The UL150's S-mount for accessories comes in handy, especially when you need to move quickly, like this softbox that just pops into place.

That's very convenient for documentaries like this where we're often shooting in someone's house and we don't want to take up too much of their time. Now when you attach a softbox like this to any light, they do tend to get front heavy. But fortunately, the UL150 has a sturdy locking knob so it can be fastened into position easily.

Once I'm happy with the position of the light, I plug it into the wall, so I don't need to worry about running out of batteries during the shoot. Now, these lights are remote controlled, which is ideal if you're working with a small crew since you can power on the lights and adjust the brightness while standing next to the camera. And you can even control the lights with Godox's app. So, next, I'm going to set up a black sheet on a C stand mostly so that this darker background on our second angle can draw the viewers eye into looking at the screen.

So after the cameras lighting and sound are set, last of all, I'm just gonna make some final adjustments to the cameras: making sure there are no reflections on the phone's screen and ensuring that all of the cameras are in the right position.
And so here you can see the difference between natural lighting, which looked like this at the beginning of the interview, but quickly changed to looking like this as the sun went down. Whereas our Godox lighting looked like this at the beginning and stayed totally consistent.

Lighting setup 2
Now our second interview is a more typical setup. It's an in-person conversation. So I always like to start by thinking about camerawork, and that means scouting the location and looking for an area with space for two cameras and the lighting kit that will also have a suitable background for both of the different angles. The next step is to set up the cameras so that we have one wider shot giving us the context of the room. And I'm going to put this camera as close to the interviewer's chair as possible so that the interviewee is almost looking directly into the lens during the conversation. I then set up a tighter shot with a telephoto lens, which is a little bit more off-axis, but I can still see both of the eyes of our interviewee. In both cases, I use the classic rule of thirds framing, and I put the light on the inside of the frame so that the interviewee would be facing towards the light.
Now I always like to start by positioning my lights without any modifiers on them, so I get a clearer idea of where the shadows are gonna fall. Since these lights are fanless, I can place it as close to the interviewee as I want without worrying about fan noise affecting our sound.
But my favourite thing about this Godox UL150 is just how bright it is. Whether you're using it with a softbox like this or bouncing the light, it's usually bright enough that I don't need to use it at 100% brightness. So when the light is really close like this, it's really big in relation to our interviewee, and so even this medium-sized softbox ends up looking very soft and photogenic. But this interview is actually part of a bigger project that I'm working on, and most of it was shot in natural light. So I'm not sure that this kind of photogenic studio look is totally appropriate for this story.

So with time running out, I decide to quickly try something, I flip the softbox around and bounce the light instead. My hope is that this will look more natural since the light is bouncing from a range of different angles, and it's reflecting a variety of colours rather than just the pristine softbox look.

And when I look at the monitor, I'm much more happy with this look for this particular project.

So next, I'll set up a backlight, but I realized that it's spilling onto the background, making it too bright and distracting. So, my DIY solution is to use a bit of tin foil and some clips: flagging the light until it's only hitting our subject. Now I think the audience will be more likely to focus on our subject.

So now that I'm happy with the lighting, I wanna talk about sound real quick, and for a shoot like this, I like to use a wireless mic, which is much easier to transport and set up than a boom mic with a big light stand, but it still sounds really nice. One thing I've learned about documentaries is that if you can put the microphone on the person you're interviewing as early as possible, then it means that you can have the microphone all set while you're just having a chit chat before you start filming. And then you can make sure that the transition from a casual, relaxed conversation into the more formal interview is really smooth.
So once the interview is done, I always like to take a moment to write some notes about what we discussed, and maybe what some of the highlights were, since it's impossible to keep track of so many conversations when you're filming interviews every week. And finally, I like to take some time to reflect on which questions were most effective, and whether there's anything that happened before or during the interview, that really helped the atmosphere to feel nice and comfortable, or if there's anything that kind of made everything feel more formal because often it's the subtle things that make a big difference to having a nice calm atmosphere for the interview. So there we go, I hope this little discussion about lighting and shooting interviews has been helpful. And if you'd like to find out more about the Godox lights or about my work, then just have a look in the video description.