Popular search
#filming #exterior lighting
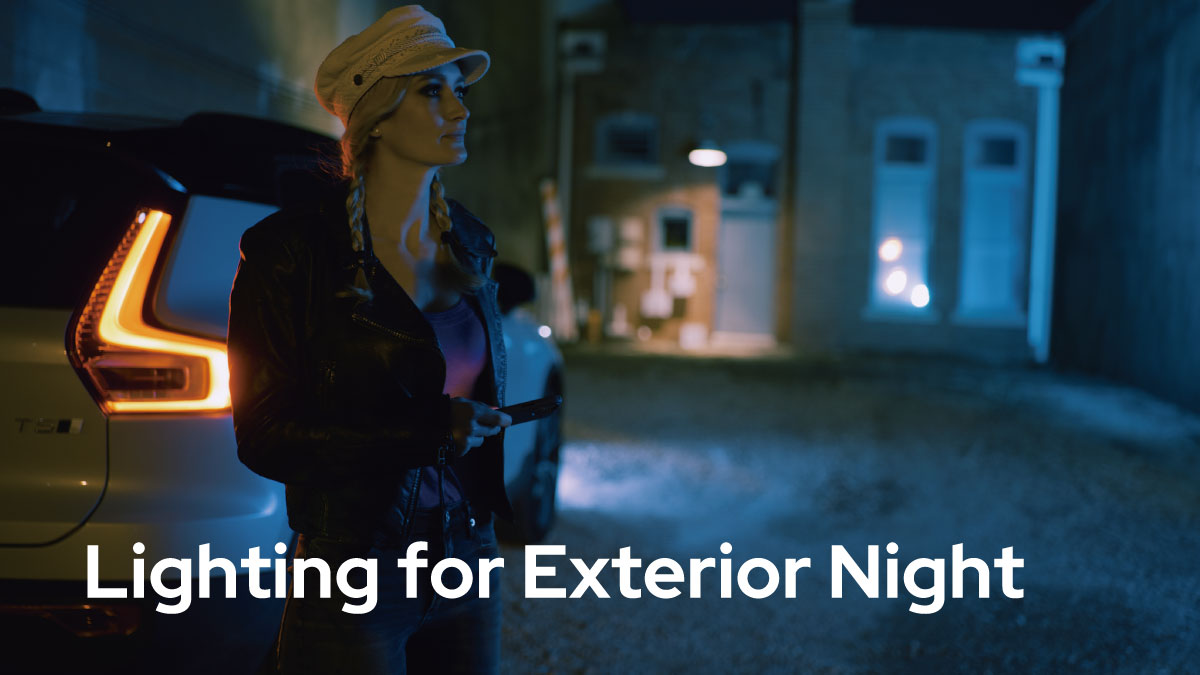
Filming at night can be a serious budget challenge, especially lighting in large areas.
Director Jameson Brooks will demonstrate how to create a scene in an urban environment, but away from the city lights.
Filming at night
Filming at night is definitely one of my favorite times to shoot.It offers infinite possibilities to shape the light however you’d like. A lot of times when filming in a city or town,street lights are everywhere.This can be a good thing or a bad thing. It is depending on the look you are going for.

Choose a scene
To start off, I chose an area with a lot of texture. The environment was surrounded by concrete walls on both sides, and the back wall had a nice brick texture plus some nice windows, and a practical source above the door.
We were filming a sequence of a girl standing outside of her broken down car.
The entire set was basically a black hole aside from that one practical light. So, lets see how we can give this location some life.

The Lighting setup
First, we placed the car into the scene. For realism, I wanted to use the practicals from the car’s taillights, so we kicked those on.
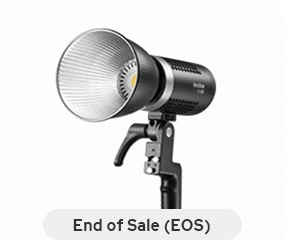
The next step was to illuminate the adjacent corner to give the scene some depth. I placed a battery powered ML60 along the wall. This light is used to illuminate the wall itself. Because the location had a nice vintage look I added a green gel to mimic a Mercury Vapor Street lamp from the 1970’s and 80’s. You still see these kinds of street lamps in a lot of older towns. This light was set at 49% power.
I then placed another ML60. This time aiming it directly at the wall that is off camera. This bounces the light off the wall which gives the scene some ambient fill. I also added a blue gel to help give it a slight moon lit vibe. I wanted this light to illuminate the side of the car, and also work as a back edge light for our subject. This light allowed for some nice contrast on the backside of the subjects face which helps separate her from the background. This light was set at 30% power.
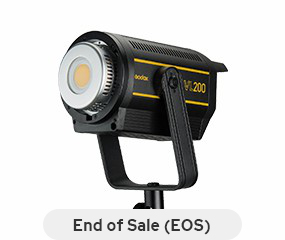
Next, I took a VL200 with barn doors. I slightly angled the barn doors, and closed the sides in a way to cut and shape the light. I then added a CTO gel to create the effect of a warmer colored street lamp. Similar to the practical seen in camera, on the far back wall.
This light was beamed across the scene, and aimed to only illuminate the wall behind the car. This adds an extra layer of texture across the wall, and helps create balance within the environment. This light was set to 22% power.
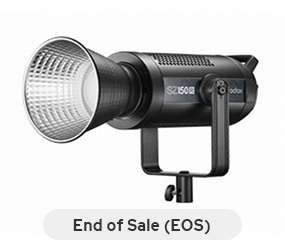
From here, I needed to boost the red light coming from the taillights. The lights from the car just weren’t cutting it, so I added an SZ150R. This light offers a ton of awesome features and effects. I really love this light because you have full capability to quickly zoom, then dial in the exact hue, saturation and intensity needed using the RGB Hue Map. You can choose from over 36,000 custom colors. This light can easily be controlled from your phone using the Godox app which is a huge plus. Using the SZ150R, I was easily able to match the red from the car’s taillights in no time. I bounced this light off the wall to make it seem as if the light was motivated by the taillights.
Now, I needed to make the car look broken down, so I used a haze machine to create a smoke effect. I placed another ML60 on the ground in front of the car. This light is used to backlight the haze, giving it more intensity on camera.
We tried to give our scene the old wet down trick. Unfortunately, the gravel and dirt soaked up the water way too fast, but if you pay attention to big budget movies and shows that have some night scenes…The concrete or pavement is always wet. The water creates a reflection off the ground which really helps the overall aesthetic of the scene. This is a useful trick that you can implement anytime you shoot through back lit windows, or on city streets at night. You can wait for it to rain, or just create your own puddles, but always be resourceful when it comes to using water for wet downs.