Popular search
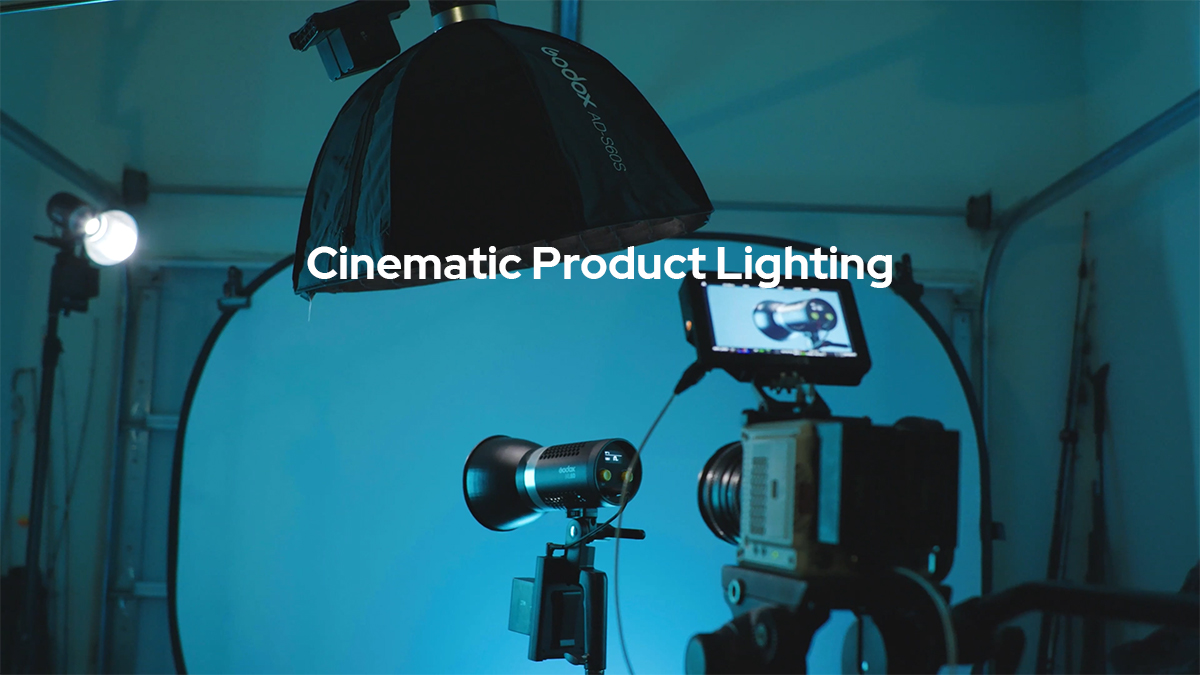
Director Jameson Brooks shows how he built up the cinematic lighting to feature a product with Godox.
Background
Hello and welcome to Godox Film Lighting 101. I am Jameson Brooks. Today, we’re going to light for a product shoot. Let’s check it out.
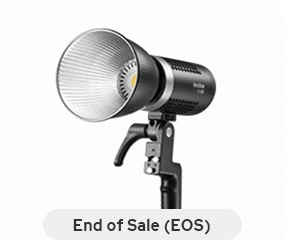
Shooting product videos are a ton of fun, and usually allow for some unconventional and creative lighting techniques to make things pop. Mood and tone are extremely important to consider when filming a product. A lot of companies have a certain “look” or brand standard to help set the tone. This branding is essentially the “world” surrounding the product, and is generally reflected in the form of color palettes, textures, environments and whatever lifestyle or features the product shoot calls for. For this episode, I want to show you how I created a simple product feature video starring the Godox ML60. Yes, we are going to light, a light…so to speak.

I really wanted to highlight the product’s build quality, details and design, so I used layers of light to help showcase these features. The cool thing about shooting a product video is that you can basically shoot it anywhere. For example, my garage. Since, the camera only see’s what world you create around the product, it really does allow you to achieve a big studio look, with a tiny set. You can create a colored background using any color of seamless paper, or easily buy your own textured background online. But, for this example. I wanted to show how versatile using your own lighting and grip equipment can be.

Setup 1
Using the Godox 5 in 1 reflector as my backdrop allows me to keep my set up mobile for use at any location. This is especially useful because it doesn’t wrinkle up like paper or other fragile backdrops, and it folds up for easy transport.

Setup 2
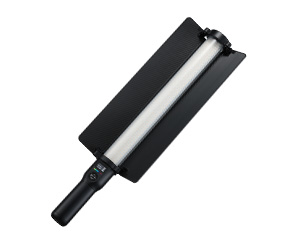
The Godox LC500R is battery powered and allows me to color the 5 in 1 backdrop any color, which makes it a useful tool that can be placed pretty much anywhere. I placed this light at the base of the backdrop to create a color gradient from the ground up. The light also helps illuminate the bottom edge of the product. This light was set at a 184 degree Hue, Saturation at 100 and 44% power.


Setup 3
I then placed my key light. For this I angled a Godox ML60 with an AD-S60S soft box over the top of the product. I also added a grid to the front of the soft box. This helps soften the light even more, and also helps direct the light toward the product without spilling light all around. The diffused light created a nice soft roll off over the top of the product, and really helped me show the intricate details of the honeycomb grid pattern. The ML60 with the soft box was the perfect lightweight set up because I was working in such a confined space, and I knew I wanted this light to hover over the top of the product later on. This light was set to 18% power.


Setup 4
From here, I added a backlight. I placed another Godox ML60 up high, and angled it down. Pointing it directly at the product. This light helps illuminate the back edge of the product as well as the texture of its side. It also helps separate it from the backdrop. Backlighting a product is especially helpful anytime you are shooting liquid such as a drink, or if you need some extra reflection detail on the ground around the product. This light was set to 7% power.


Setup 5
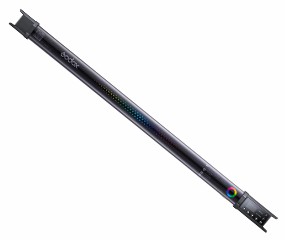
I then added an additional layer of lighting on both sides of the product. I placed a Godox TL60 tube light on each side. These lights are powered by an internal battery, and are super lightweight. Adding these to the environment helps add some additional detail to different areas of the product. I dialed in the color on both of these lights to a Hue of 145, Saturation at 100 and power to 39%


Setup 6
Movement is always a nice finishing touch when showcasing a product. Rather its camera movement or moving the light across the product. A nice feature about this set up is that every light used is battery powered, so you have the option to move any light you choo se. For this example, I used the Godox C stand & arm to swing the softbox light over the top of the product.

Hopefully these techniques are helpful for you to try out on any of your future product video shoots.

Godox offers a one-stop-solution for all your filmmaking needs. From lights, to monitors, to audio, to stands, to grip and staging essentials. They’ve definitely thought of everything.