Popular search
Photographer Richard Weinstein shows how he uses the combination of MF-R76 ring flash and macro flash MF12 to create some interesting setups in shooting dry chilies, coins and memorabilia.
Background
Hi. I'm Richard Weinstein. I'm starting to set up for some close-up photography and some macro photography just using the Godox MF12 and the R76 in combination. I'm gonna see how many different lighting qualities and options we can start exploring today.
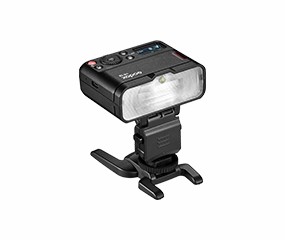
What you need first to run both these together is the X2T, the little trigger system, and that's gonna go initially onto the camera as my transmitter and trigger both of the MF12. Today I'm working with them off camera. To sync up both the systems together, we put in the R76 and mount it on top of the X2T, so that's going to ensure all the flashes sync and fire at the same time. This flash gets attached to the lens by the slide.

Setup 1
I've just put two blocks and a little bit of acrylic. I've spread out some dry chilies onto the top, and what I'm hoping to achieve is a nice white background. So I've decided to use the close-up adaptor and just pop and click onto the MF12, and this is going to help me even the spread of light. You're able to pop these lights into really small little places and get lovely effects.
What I always recommend to people when you're using multiple flashes is to start off with one flash, set up your camera, get your composition right, and just work with one flash at a time so you can adjust and perfect what each light is doing, and that's going to improve your photography skills and give you an understanding of how light spreads and bounces and interacts with each other. Let's explore and see what we get. I've decided to run the power at half power on manual. This is my A setup. What's lovely about this food group is there are a lot of colors. When you start creating the translucence, I'm looking for a nice, clean white background, and that's starting to appear.

No flash

MF12*1 (bottom)+ Extreme Close-Up Positioning Adapter
My second light, what I'm hoping to achieve with the MF12 is to create a really hard light coming across the top of the chilies. So my second light coming on is going to be set at half power, just to adjust the light coming in from 2 o’clock, really low down, giving a nice, hard, strong feel. I've turned off my bottom light because I want to see just the effect of what my second flash is going to give me.

MF12*1 (side)
So I'm now really interested to see what the effect is going to look like with two flashes. So I'm turning my bottom light back on, and this capture will give me the effect of the hard sidelight and the bottom even light. I'm really happy with this image. What I'd like to do now with the ring light is just add a little bit of overall fill to the scene, just to bring up the shadow details slightly. While shooting, I also noticed the really fast recycling times, which is often very helpful when you want to capture things pretty quickly. And the lithium battery pretty much lasted all day. So that's my overhead with ring flash. But what really helps me is when I can stop comparing and noticing what each flash is doing individually. Bottom light, hard, sidelight, ring flash. And this is a combination of all three lights.

MF12*1 (bottom)+ MF12*1 (side)+ Extreme Close-Up Positioning Adapter

MF-R7*1 (fill)

MF12*1 (bottom)+ MF12*1 (side)+ MF-R7*1 (fill)+ Extreme Close-Up Positioning Adapter
Setup 2
I had thought of photographing some coins. Money is just disappearing today. And over the last few years, I've built up a little bit of a collection of coins from different countries, which I find interesting, comparing the texture and looking at the beautiful little indentations and marks. And I thought this would be a lovely exercise to practice some macro photography. So I've just got a little bit of a black background. I've covered it with some black velvet, which is going to give me a very even black fill. The first thing I always recommend is to get your composition right, and then you can start practicing your lighting. I'm coming in over the top of these coins. What's a beautiful feature about the R76 is that it has a little bit of a work light to assist you in getting focused and the correct setup.

No flash

MF-R76*1 (fill)
So I've got my ring lights happening, bringing up the coins. I want to bring in the MF12 to bring up the texture of the little indentations. I'm setting my A light really low, so just want a hard light, skimming across the coins and bringing up lots of the little detail. MF12 has got a little work lights, which make it easy and wonderful to work with, so you start getting a sense of how the image is going to appear.

MF12*1 (key light)
Bringing my second MF12 with my extreme close-up adaptor. This is the second light, but much softer in quality. This is the effect of what the second MF12 is doing on its own. This is the effect of what both sidelights are achieving. I'm loving what's happening with the texture. I'm still finding the coins a little bit dark, and that's where the ring flash is just going to bring up the overall ambience. That's giving me the more subtle result that I'm after.

MF12*1 (fill light)+ Extreme Close-Up Positioning Adapter

MF12*1(key light)+ MF12*1 (fill light)+ Extreme Close-Up Positioning Adapter

MF12*1(key light)+ MF12*1 (fill light)+ MF-R76*1 (fill light)+Extreme Close-Up Positioning Adapter
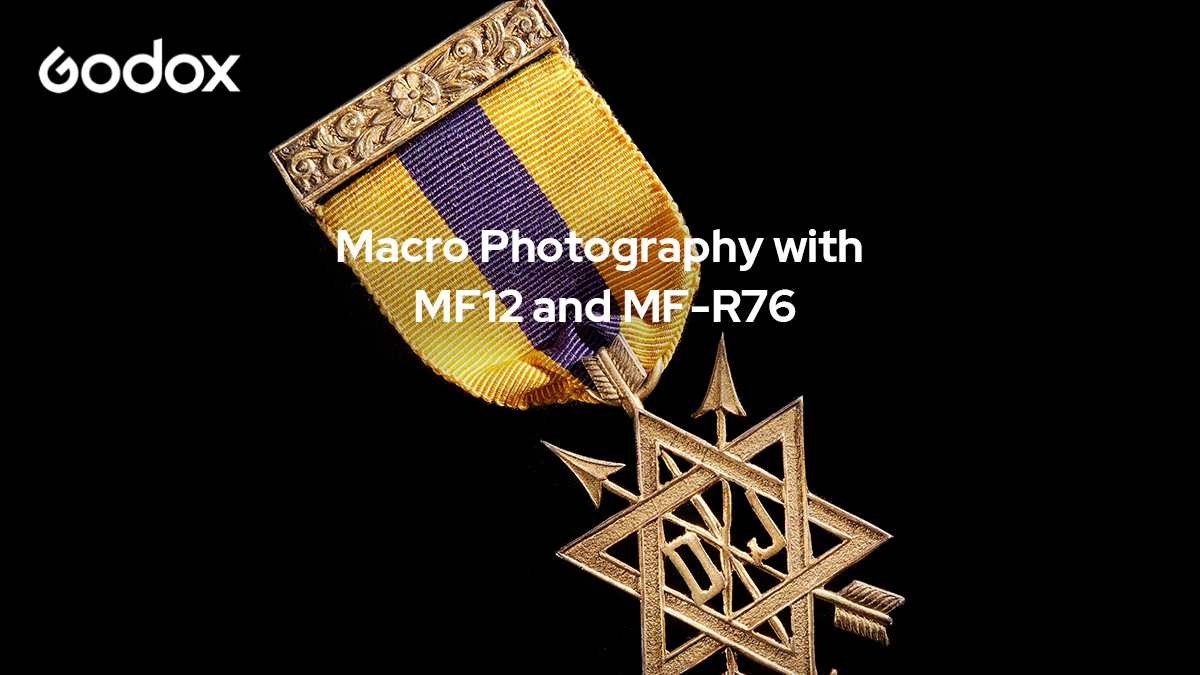
Setup 3
So I wanted to do something really special for ANZEC day, and I've been searching for a couple of just old medals and people’s memorabilia, so I'm going to try a three-light setup with the combination of hard and soft light and the ring light. So I'm going to be starting with one light. My key light comes in from a low direction, bringing up a lot of side texture. Brightness. Strong sidelight is a wonderful way to bring up texture, to give shape and really to give objects a three-dimensional feel, make them come alive, and make them pop off the page.

No flash

MF12*1(key light)
A second light. This is coming up on my B setting, and it has the close-up adaptor. Now I'm bringing in a third light on the R76, that's just gonna general fill up the scene. So on the left, we see the two MF12, low angle. One light sets slightly more hard, and the other light sets with a softer close-up adaptor. And then the ring light just starts bringing in beautiful details to the gold, beautiful detail into the shadows of the metal arrows, and a little bit more detail into the ribbon. So the combination of those two systems gives me an absolutely beautiful result.

MF12*1 (fill light)+Extreme Close-Up Positioning Adapter

MF12*1(key light)+ MF12*1 (fill light)+ Extreme Close-Up Positioning Adapter

MF-R76*1 (fill light)

MF12*1(key light)+ MF12*1 (fill light)+ MF-R76*1 (fill light)+Extreme Close-Up Positioning Adapter