Popular search
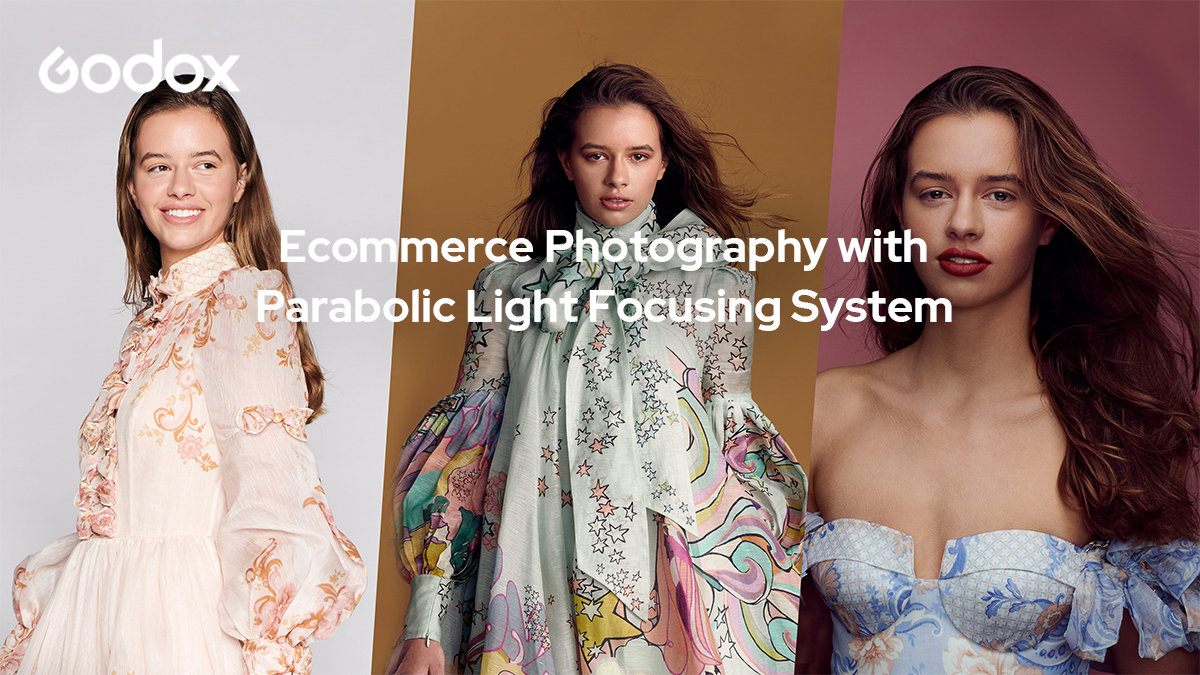
Edward Tran is a fashion photographer based in Sydney Australia. In this video, he will demonstrate 3 commercial lighting setups using Godox parabolic reflectors. For him, one of the key advantages of parabolic focusing system is that one can customize the lighting recipe based on the rod scale. Check out the video and see how he balances softness and contrast levels for different kinds of product photography.
Setup 1
For the first set up with just one light, we’re using a Parabolic 158. One of the many great things about the 158 is the light can reflect and consistently reach across the body.
First, we’re measuring the light output to make sure we reach the F stop that we aim for. Here I aim for F/8 across the body from head to toe.

Next, we’re correcting the white balance by using a grey card.

There are 10 steps on the focusing rod. For this set up, I adjust the focusing rod to step number 5 which gives a nice balance between softness and contrast level especially for front lighting.
It’s important to communicate with your team and models before and during the shoot to give them an idea what we’re shooting and what looks we’re aiming for. For example, here we’re aiming for 3 images: front, side and back. The makeup and hair are natural in front and back poses, but has more movement in the side shot.

In the scale from 0 to 10 on the focusing rod, 10 will produce more punchy light, resulting in more contrast, whereas, 0 will give a soft light. By moving the rod in and out, the light quality will change between soft and hard. For example here, using step numer 5 will a nice balance between softness and contrast level especially for front lighting.

As you can see here, the lighting is soft but still bring out the texture of the fabric.


Texture details

Texture details
After the shoot, I review if we have the shots we need before moving on. It’s also a good opportunity to give feedback to the team for future improvements.
Setup 2
In this second lighting set up, I’m using 2 lights and I aim to shoot ¾ of the body where the dress ends just above the model’s knees with a focus on movement and fun with a pop of color in the makeup.
For fill light using Para 158, I aim for F3.2 with the same focusing step number, but I use a D1 diffuser to soften even more the light.

Then, I use Para 128 with focusing step number 2 light from 45 degree from the side to give more definition of the dress and the model.

This is going to be my main light without a diffuser because the light is already soft and nice. The light output measure is F7.1 here. With 2 light together, they made F8 overal which is exactly what I aim for.

After testing the light, I add a white board to the model’s right to bounce back the light from Para 128 to lighten up the shadow.

I think one of the key advantages of Godox parabolic focusing system is that you can customize the lighting recipe base on the rod scale.
Different scale can result in different lighting that you can use in different kind of product. Secondly, it can produce unique lighting quality. For example, it’s micro contrast on the fabric texture here
For instance, using step number 2 will a softer light, however by moving the light to the side, it create contrast. All together it will result in a soft contrast on the fabric. You can see it in detail of the dress here (insert zoom in picture)
To give a sense of movement in the images, I told the model to keep moving. We also use more direct wind to the air to give it more volume and movement.


Texture details

Texture details
Setup 3
And for the last set up, it’s classic beauty set-up called clamp shell. We’re using 3 lights to show the beauty of the skin using makeup and hair product to compliment the look.

To begin with, I use a bare bulb to reflect the light from the white board to give a good fill light, F5.6.

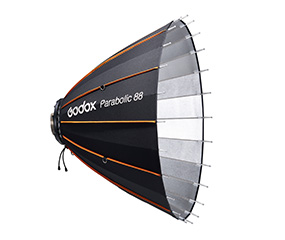
Then using Para 88 with D1 diffuser, focusing step number 1 measured at F/7.1, I use it as my top light.

Bottom light is Para 128 with D1 diffuser, focusing step number 4.5 measured at F/7.1 as well.

After that, a black side of reflector is used to cover up the top part of the para 128, together with 2 black boards for both sides of the model for more subtle contrast, contouring the face.

On a commercial shoot, there will be a brief to show the vision and direction of the shoot. We begin with a lighter lip color and hair tied from the back for testing. However, if the brief says darker makeup and hair should have more volume, the photographer needs to discuss with the hair and makeup artist to follow the creative direction of the client for example here.
We also test out what angles work best with different poses and slight movement.
Finally, we end up with these 2 images, one image focused on the hair, and the other is about the makeup and the lip.