Popular search
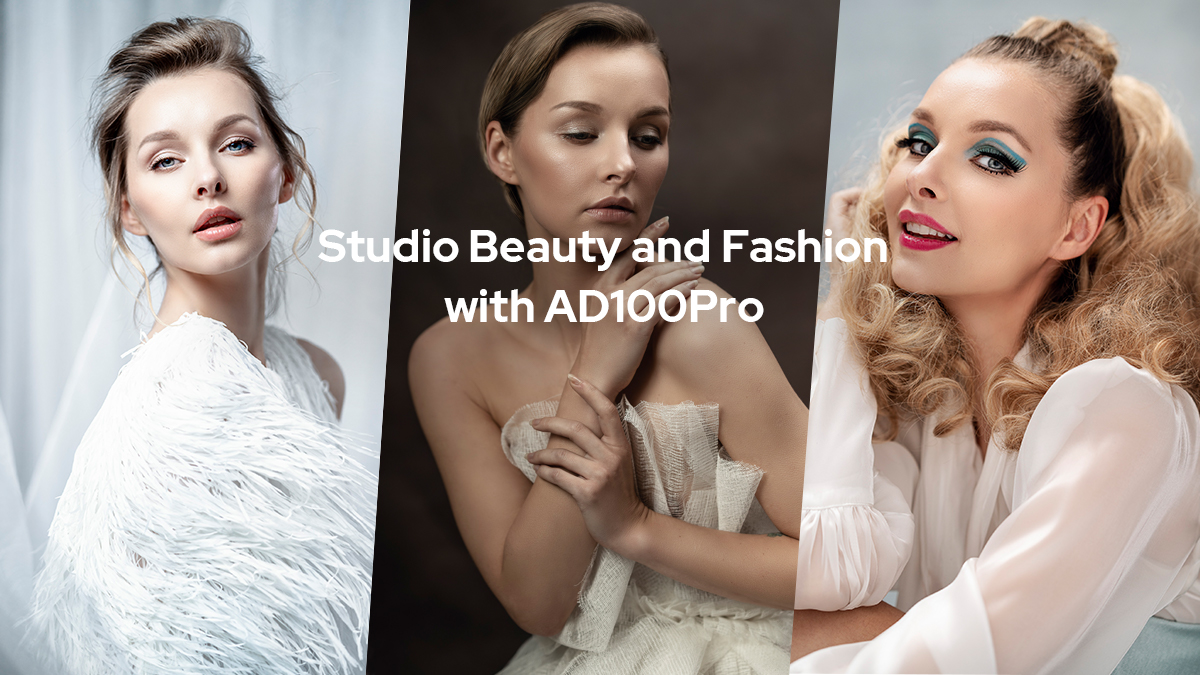
Photographer Sarah Edmunds shows how to shoot different looks of studio beauty and fashion using the Godox AD100Pro as the key light.
Background
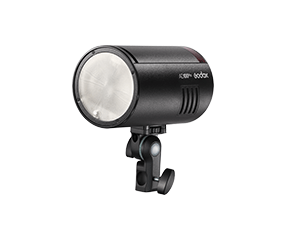
I’m Sarah Edmunds, and we’re shooting studio beauty and fashion using the Godox AD100Pro. This little beauty will be our key light throughout the whole session. I’ll be using a range of modifiers to vary the look, and if I need a little extra fill, I will use my AD200s on low power with the bare bulb accessory in a softbox for some extra dimension.
Setup 1 High Key Fashion
For our first setup, I’m aiming for a high-key, glowing, white-on-white fashion portrait, I hang some white translucent curtains around the model, and am using three lights: two rim lights behind the model and shooting through the fabric, and our key light, our main light source, will be the AD100Pro in a softbox with diffusion and grid. The rim lights are both AD200s with different modifiers for a deliberately asymmetrical effect. One AD200 at one sixty-fourth power is in a strip softbox, the other is in a standard reflector, and both are angled carefully to shine through the white fabric onto our subject while avoiding any flare caused by light entering the lens. The AD100Pro in the softbox is close to our model which helps soften the light falloff and means we only need 1/4 power, which I then reduce to 1/8th. The surrounding white fabric and the white dress act as reflectors, so the light bounces back onto our subject, leaving us with very little shadow on the face and giving us that high-key, glowing look I’m after. A wide aperture of 2.8 helps add to the overall softness and ethereal tone of the portrait.

Light diagram
Key light: AD100Pro in gridded 120cm softbox@1/8 power
Rim lights: AD200*2@1/64 power

Without key light

High key fashion 1

High key fashion 2

High key fashion 3

High key fashion 4

High key fashion 5
Setup 2 60s Beauty Portrait
Our second look is totally different, with a vibrant vintage 60s theme. Our first lighting setup for this makeup and styling is designed to mimic natural light using a single AD100 Pro. To achieve this, I placed the AD100Pro in a 120cm softbox, behind the model and pointing over her shoulder hitting two white v flats placed as close to the model as possible, and with a small reflector under her face. I shoot through the narrow gap in the flats. This creates a cage of reflection and gives the effect of hair light and very soft light on the face, with just one AD100Pro. A very wide aperture of f2 gives that very soft, natural light effect. Yet if we take a look at the Frame with the flash turned off, you can see there is hardly any ambient light at all hitting the sensor at these camera settings. The result is exactly what I wanted: soft, flattering, and doesn’t have that typical studio flash look at all.

Light diagram
Keylight: AD100Pro*1 in 1 20cm softbox@1/8 power

Without flash

60s beauty portrait 1

60s beauty portrait 2

60s beauty portrait 3

60s beauty portrait 4

60s beauty portrait 5

60s beauty portrait 6
Setup 3 60s Fashion
Our next setup shows what a different look you can achieve just by changing the lighting. We have the same vintage 60s styling, but I wanted a more traditional fashion look with punchier lighting and shadows to shape the face and clothes. I added an AD200 on very low power in a softbox above the subject for an overhead fill light and used the AD100Pro as our key light in a silver umbrella with diffusion layer and grid. The result is a more defined look, but with a slight fill to the shadows and backdrop.

Light diagram
Keylight: AD100Pro*1 in 120cm gridded umbrella@1/4 power
Overhead fill light: AD200*1 in 120cm softbox@1/128 power

Without flash

AD200*1 with softbox (overhead)

60s fashion 1

60s fashion 2

60s fashion 3

60s fashion 4

60s fashion 5

60s fashion 6

60s fashion 7
Setup 4 The Handmaid
For setup 4 we have a couture dress with a very sculptural look, which contrasts beautifully with the nude tones of the skin and dress and brown backdrop. I wanted to emphasize the structure of the fabric using hard light. For the crisp shadow falloff I wanted, we needed a small light source, so I simply removed the softbox and used the AD100Pro with the grid and barn doors accessories to control the spill, and aimed it through a homemade gobo to create a dappled shadow effect on the backdrop. For this shot I wanted more detail throughout the dress and body, so narrowed the aperture to f5.6, and used 1/4 Power on our key AD100Pro light. The AD200 remained overhead in a softbox at low power to provide a subtle pop of light on the model’s arm and hair.

Light diagram
Key light: AD100Pro*1 in with grid and barndoors, homemade gobo@1/4 power
Overhead fill light: 1 x AD200 in 120cm softbox@1/32 power

Gobo light
AD100Pro with barndoors & grid

The handmaid 1

The handmaid 2
Setup 5 The Handmaid Classic Lighting
Set up 5 is a classic portrait to take of the same outfit: the AD100Pro is back in a silver umbrella at a 45-degree angle with diffusion layer and grid, feathered slightly in front of the model and the overhead AD200 provides a slight fill and some illumination of her hair and back. By asking our subject to look at the light, we maintain a butterfly lighting pattern despite the light being at 45 degrees. The crisp shadows are gone, and we now have a soft shadow fall off sculpting the features.

Light diagram
Key light: AD100Pro*1 in gridded umbrella@1/8 power
Overhead fill light: AD200*1 in 120cm softbox@1/64 power

Without flash

The handmaid classic 1

The handmaid classic 2

The handmaid classic 3

The handmaid classic 4
Setup 6 Classic Beauty Portrait
One small modification gives us setup 6: a white reflector under the model’s face to fill shadows. Our AD100Pro is still our key light, and an f4 aperture gives me plenty of detail throughout the face for this classic beauty shot. We have been shooting all day, and the battery on our key light, the AD100Pro is still going strong. At just over 1lb in weight, it’s easy to move around the studio and has provided the key lighting for our entire shoot. Hopefully some of these techniques have inspired you to get into the studio and create with the AD100Pro.

Light diagram
Key light: AD100Pro*1 in gridded umbrella@1/4 power
Overhead fill light: AD200*1 in 1 20cm softbox@1/64 power

Classic beauty 1

Classic beauty 2

Classic beauty 3