Popular search
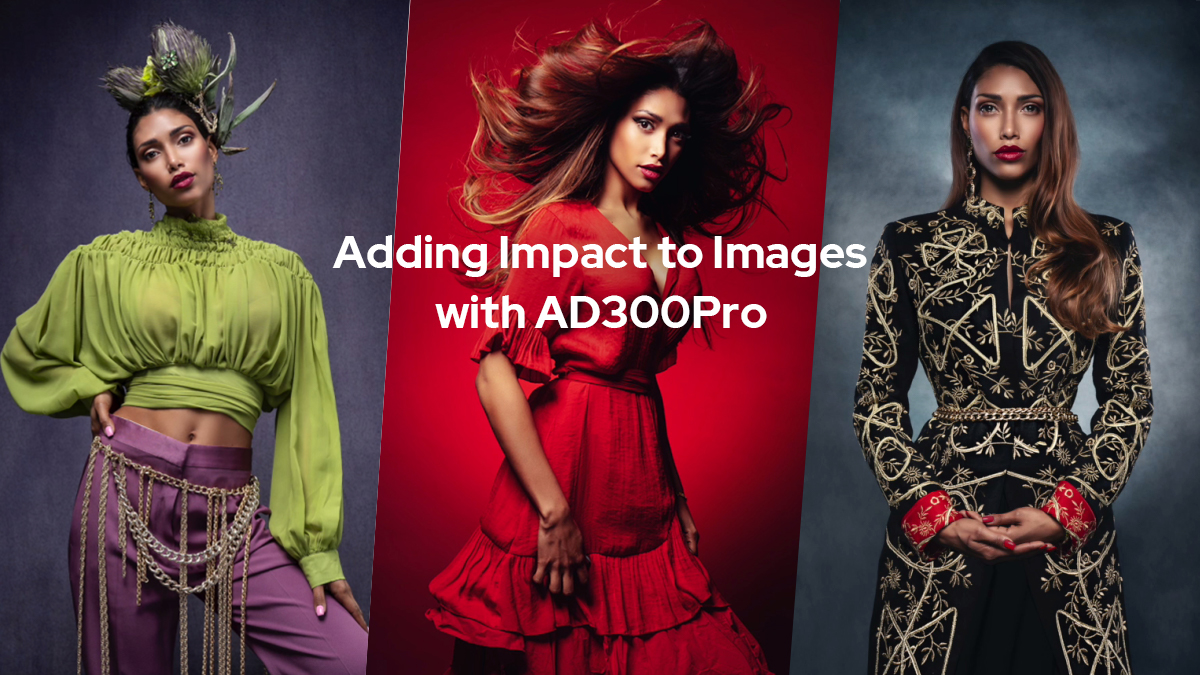
Sarah Edmunds shows how to add impact to images with Godox lighting; in particular, the AD300Pro. Using one light, two lights or four lights, she will present a crisp fashion look, a color-harmony image, an image of saturated color&movement, and finally, a look that is all about mood and dimension.
Background
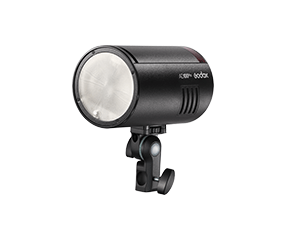
I'm Sarah Edmunds, and we will be looking at ways to add impact to images using Godox lighting, and in particular, the AD300Pro. With 300ws of power and a rechargeable lithium battery that's interchangeable with the AD200 and AD200Pro, this powerhouse can provide up to 320 full power flashes on a single charge. It's just what we need for the fashion-inspired portrait session will be shooting today. I'll be controlling the AD300Pro with my XPro trigger on camera, and with the same trigger, I can control up to four lights independently. And in fact, I'll be starting with one light, moving on to two lights, and ending with a four-light setup.
Setup 1
For our first shot, I want a clean, crisp fashion look, and very often the most striking shots and the simplest in terms of setup. I wanted to add interest and impact using a hard shadow against a plain white wall. To achieve this, I used a single AD300Pro with no modifier, simply the standard reflector that comes with the unit. The smaller the light source, the harder the shadow, and casting a hard shadow shape is exactly what I wanted. The farther away the light source, the smaller it gets in relation to the subject, and therefore the harder and crisper the shadow becomes. With a black and white theme, my focus was on creating pleasing shapes with the model’s pose. The light on the model is bright and clean. This is a simple setup for a very popular fashion book. You'll see it again and again in magazines and advertising. Adding an unusual accessory, such as a headpiece will cast even more interesting shadow shapes. For a bit of variation, fun and color, you can literally color in the shadow cast using gels. In this instance, I added a gel to the AD 100 pro used as a secondary light source, and pointed at the wall where the shadow would fall. The color cast tends to be richer in the shadows, and this results in the bright color saturating the shadows and leaving the rest of the wall white.

Key light: AD300Pro*1@ 1/4 power

Clean, crisp fashion look

Key light: AD300Pro*1@ 1/4 power
Gel shadow light: AD100Pro*1@1/16 power
Setup 2
For set up two my focus is on color harmonies. Between the backdrop and outfit color, we have a split complementary color scheme. Because of the importance of color in these images, I decided to soften the light and allow the color scheme to take center stage. With a 120cm diffused umbrella placed camera left, feathered across the front of the model, and bouncing off a white V flat camera right. This creates a sort of shaft of light that passes softly in front of the model and deepens the background as very little light is hitting it. An AD100 pro was placed in a gridded strip softbox behind the model, directly across from the key light, to provide some added rim light.

Key light: AD300Pro*1 in 120cm umbrella@1/4 power
Rim light: AD100Pro*1 in 40x120cm strip soft box with grid@1/8 power
For the standing segment, I raised the softbox higher, added a grid and pointed it downwards in front of the model, the sharper angle deepens the shadows cast and looks more sculptural on the model's face and body. Now, the key light is also hitting the background slightly, as well as the subject.

Key light: AD300Pro*1 in 120cm umbrella@1/4 power
Rim light: AD100Pro*1 in 40x120cm strip soft box with grid@1/8 power

Adding impact with color harmonies
Setup 3
Setup three is all about saturated color, fun and movement. The AD00 pro goes into the quick-release 65cm softbox. Its smaller size and focused shape give more contrast than the previous look, and I emphasize this by placing black v flats on either side of the model to prevent light from bouncing off the white walls. I place an AD100 pro with a red gel and diffusion dome onto the red seamless backdrop. This provides a saturated red glow from behind her, and the effect is fiery and glamorous.

Key light: AD300Pro*1 in 65cm softbox@1/4 power
Second light: with red gel + diffusion dome@1/4 power

Adding impact with color&movement
Setup 4
Our final setup is all about mood, drama and dimension. I do this by carving out the subject shape using light. I'm using the super flexible 65 cm quick-release softbox again, but this time as a beauty dish, with a reflector internal attachment, no diffusion, and a grid to focus the light on the model with a minimal light spill.
An AD100pro with a snoot attachment is lighting the backdrop behind the model. Two AD200s in gridded strip boxes either side of her provide a subtle rim light. The AD100 pro with the snoot lighting the background gives the impression of light bursting through the clouds behind. The perfectly symmetrical pose is enhanced by the symmetry of the lighting.

Key light: AD300Pro*1 with 65cm softbox as beauty dish, with grid@1/4 power
Backdrop light: AD100pro with snoot@1/4 power
Rim light: AD100Pro*2 in gridded stripbox @1/8 power

Adding impact with dimension