Popular search
Background
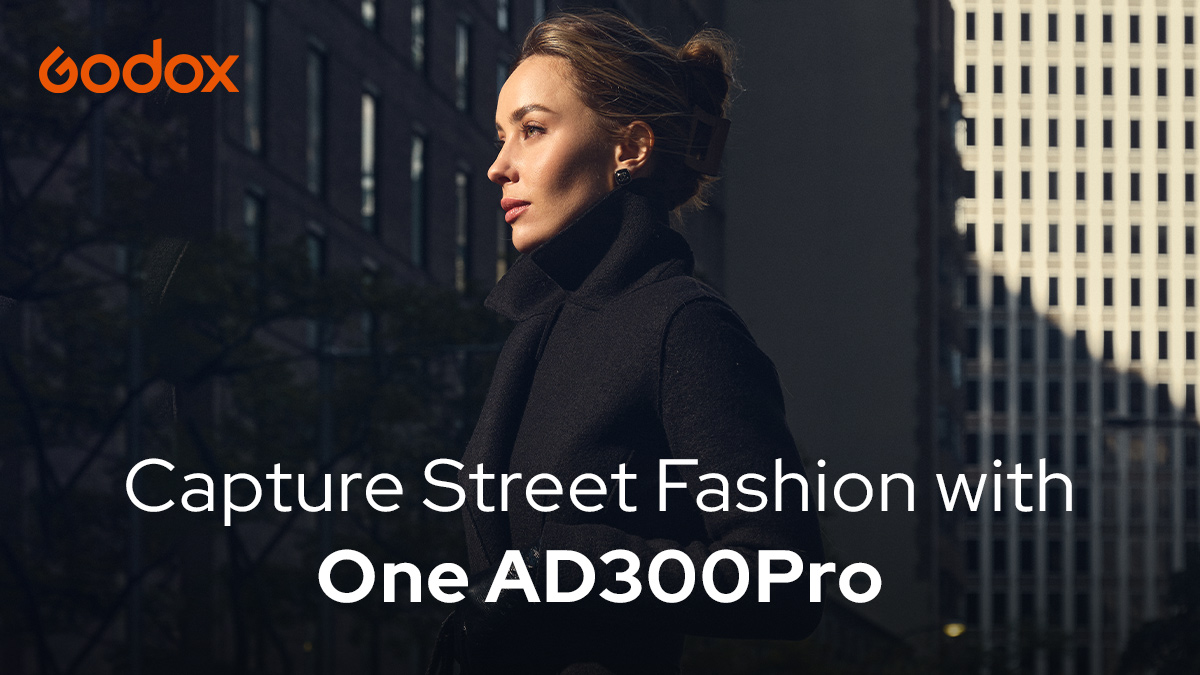
Good day, guys! I'm Aries Tao. Welcome to "Godox Basic Lighting 101." Today, we're going to look at multiple ways of using Godox AD300Pro.
Setup 1 Direct Harsh Lighting
The first way we can use it is by the standard reflector. The standard reflector delivers harsh lights. I personally prefer two ways of using it. One way is to put it on the same axis as the camera, almost like a camera flash. Another way I use it is by raising it nice and high to mimic the sun.


Setup 2 Selective Lighting with Barndoor
You can see the building in the background: half under the light and half under the shade. That actually inspires me to light models in the same way so it actually corresponds with the background.

I'm going to use a barndoor here to restrict the lights to focus on the model's upper body and keep the lower body under the shade.


Setup 3 Soft Lighting with Background Focus
I quite like the backdrop here. You see, it's a cross between two streets.

The problem here is the natural lights on the model's face wouldn't be so ideal. The building around actually broke the natural light.

One way to deal with this issue is to expose for the background, which is the building back there. Make sure it's not overexposed and use the artificial lights to light up her face.


So guys, you see that the sun's coming through from that direction. The sun is actually hitting the windows, reflecting back, casting some nice palm tree leaves on the wall. So, I figure I can use it as a really interesting background. The problem is if I place the model’s face here, it's kind of under the shade, in which the skin tone would not be nice. So, it would be nice to add some artificial lights to make her skin glow.

The natural light in this direction is pretty soft. If I add a harsh light, it will look unreal. That's why you can add an umbrella. It reflects lights on her face, which will be soft, and you can even defuse that with a diffusion layer to make the light even softer. Personally, I feel like the reflected umbrella plus the diffusion layer is perfect for this kind of soft light on an overcast day sort of environment.


Setup 4 Cloudy Day Fill Light
So, today we're actually quite lucky because it's a cloudy day. The sun has already been settled by the cloud, but you can still see the shadow under my nose and the shadow under my neck. So, if I place the model here, the shadow is going to be too dark. Highlights, like her forehead, are going to be overexposed. It's just too much contrast.

One way to solve this is to add a reflector. It might be enough for you to shoot headshots, but quite often I shoot half-body or even full body. Obviously, the reflector doesn't help us much. So, I use the AD300Pro with the umbrella. The idea is the AD300Pro is going to fill in the shadows, and the umbrella is going to even further soften the fill lights so that it's barely noticeable.


Summary
And here we go! To summarize what we did today, there are four ways of using the AD300Pro as a single light source. The first way is to use it as a harsh light, either as a camera flash or to mimic the sun. The second way of using it is to combine it with a barndoor or grid to mimic a patch of sun to light certain parts of the body. The third way is to combine the AD300Pro with a reflective umbrella or softbox to mimic window lights and control how bright your subject’s face is going to be. The fourth way is to use it with a translucent umbrella to fill up the shadow and control how light the shadow would be.

So, here are the four tips from me to use AD300Pro as a single light source. I hope you guys enjoyed this tutorial. This is your mate Aries Tao. I'll see you in the next "Godox Basic Lighting 101" series.