Popular search
Hi everyone! I'm Edoardo, and today you're going to join me on a very special trip. We're going to start from scratch and build an entire lighting setup using only Godox lights, transforming this humble workshop into its best version. Then, we'll continue our journey by shooting some documentary-style footage of Alberto, our trusty luthier. Of course, as we navigate this day of shooting, I'll share some tips and tricks about the magical world of lighting; after all, cinematography is just a game of lights!
Let's start from the basics.
As you might expect, filmmaking doesn't involve simply pressing the recording button and hoping for the best. It is much more complex, and unfortunately, there's no rulebook. Every scenario is different, and every video you shoot is unique in its own way. I know, this may seem a little dramatic, but don't worry; I'm here to provide you with a powerful tool you can use in every situation: a mindset, or if you prefer, a checklist. It's a chain of logical actions you can follow to break down every significant obstacle in your way into small, manageable issues.
Step 1: Understand the Shooting Location
One fundamental aspect of cinematography to grasp is that we don't light people; we light spaces!
This implies it's crucial to comprehend the characteristics of the location, beginning with the room's dimensions. Fortunately for us, this workshop is quite small, which aligns perfectly with our goals. We are a small production, aiming to keep things as straightforward as possible, and this room can be adequately illuminated with just three lights.

Next, let's consider the natural light sources available to us, such as that prominent window over there. Initially, we aim to control the natural light entering through that window by using some black cloth.

Afterward, we will position our lights outside the window to simulate sunlight. You might wonder, "Why not use the natural light?" Well, because Mother Nature enjoys playing tricks, and we want to ensure this "sunset" never ends. In a shooting scenario, control is paramount.


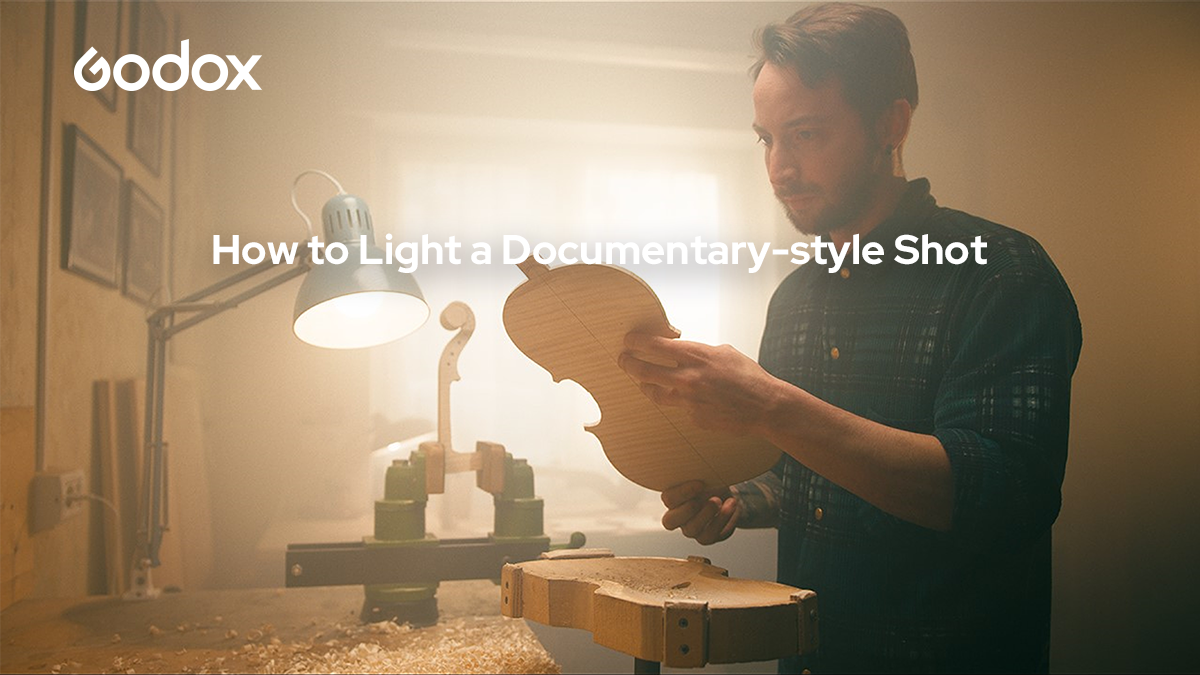
Now, regarding the placement of our subject, which, in our case, is quite straightforward: Alberto will be working right here. Consequently, we will consistently position the camera behind him, situating Alberto between the light source and our perspective. This is a standard technique employed in nearly every movie; it not only creates contrast in the image but also effectively separates the subject from the background.

Now that we have all the information we need, it's time for the fun part.
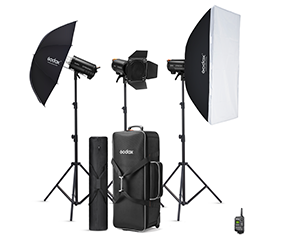
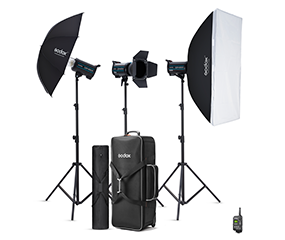
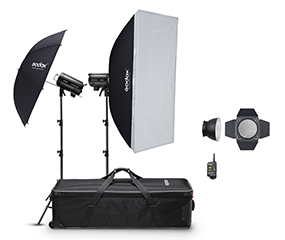
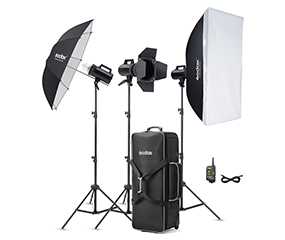
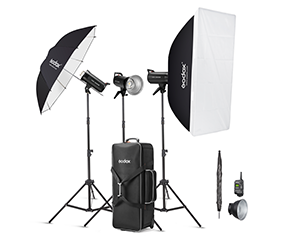
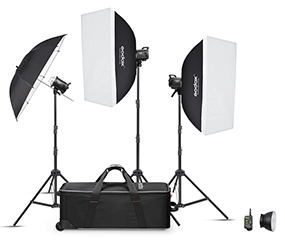
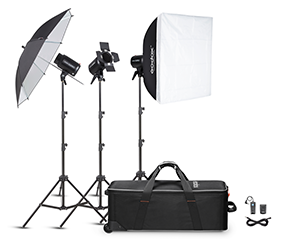
Step 2: Choose Your Lights
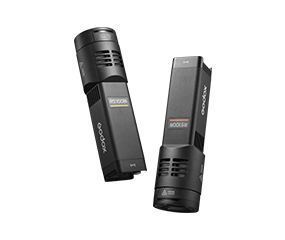
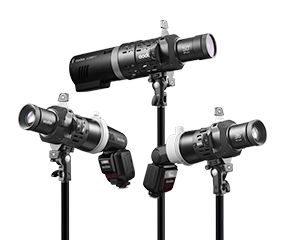
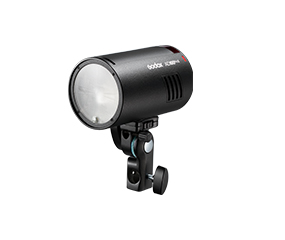
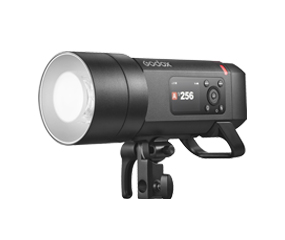
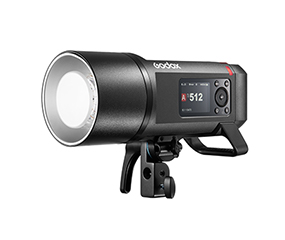
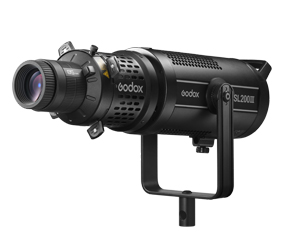
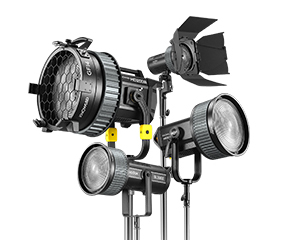
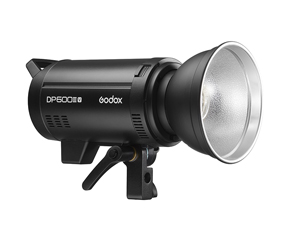
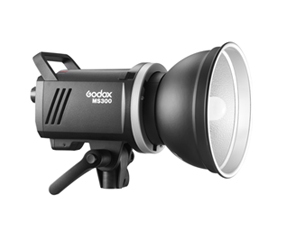
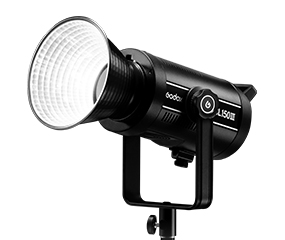
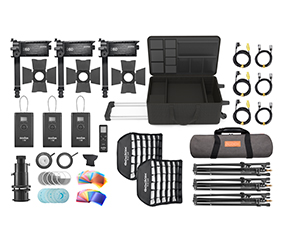
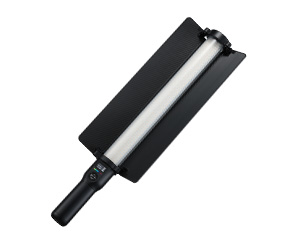
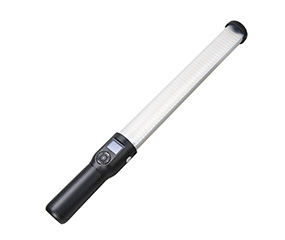
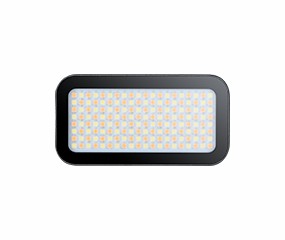
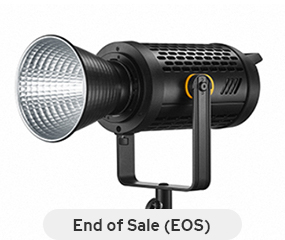
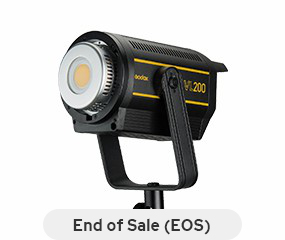
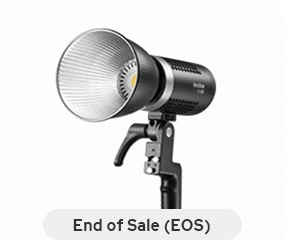
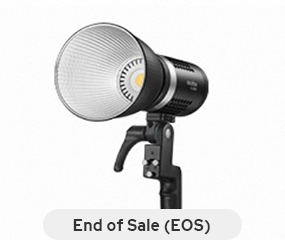
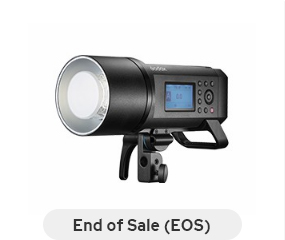
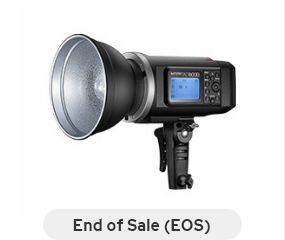
If we want to simulate a sunset, we need our Sun, and our Sun will be the Godox M300Bi. It's powerful, brilliantly bright, and offers color temperature control, which is fantastic because we can set it at 2800K to achieve a warm tone on camera without having to tinker with the White Balance settings.

Additionally, it can be conveniently controlled via an app, which is perfect, especially when it's positioned at a distance. Our aim is not to directly illuminate Alberto with this light but to fill the room with a sun-setting effect on the horizon. Our gaffer, Tommaso, is now ready to turn on the M300Bi. In Italy, when we want the gaffer to turn on the light, we just shout, "Biascica, apri tutto! smarmella!" I find it quite poetic. Voilà! We now have our main light source.

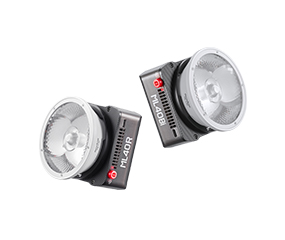
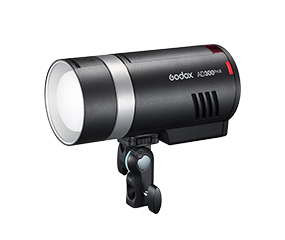
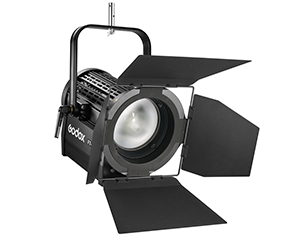
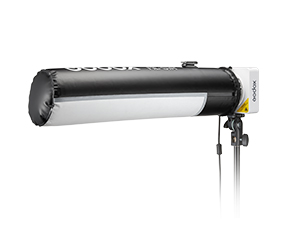
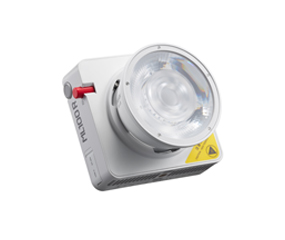
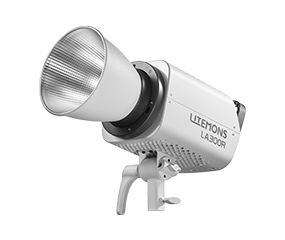
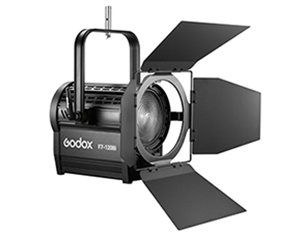
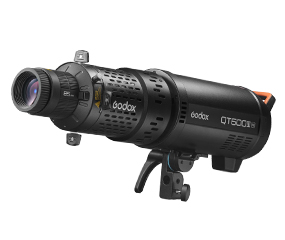
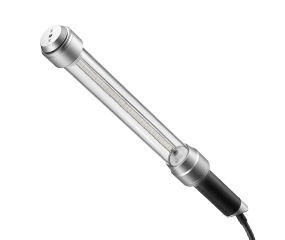
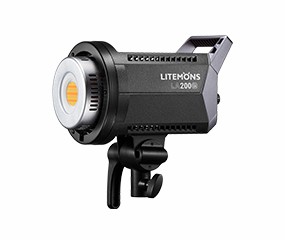
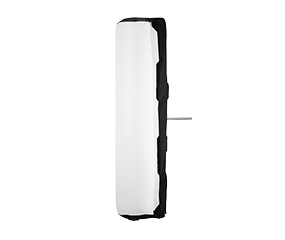
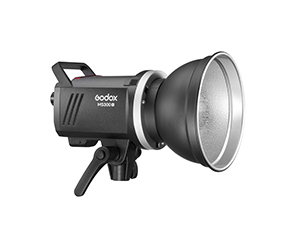
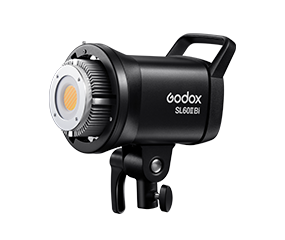
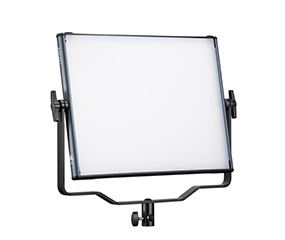
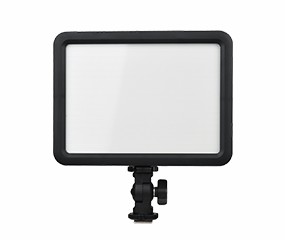
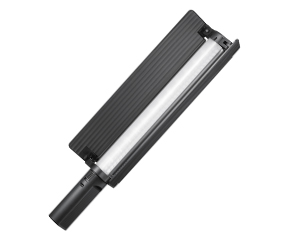
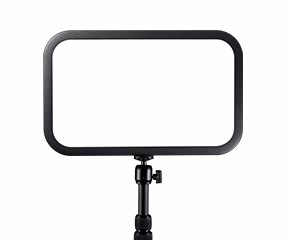
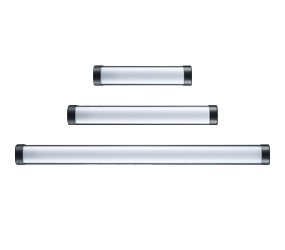
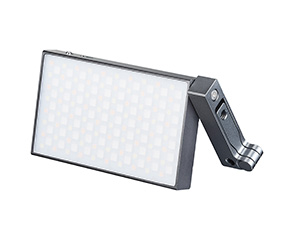
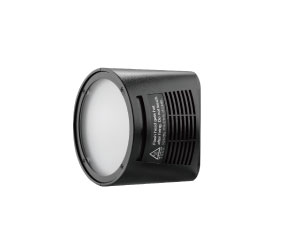
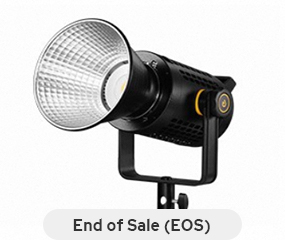
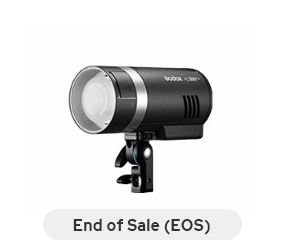
Now, let's talk about the key light. Wait, the key light? Edoardo, you just mentioned that the main light source is the window, so shouldn't the key light be the M300Bi? Well, yes and no. The M300Bi sets the overall room tone, but we also need to clearly illuminate our subject. That's why Tommaso is setting up another light, the F200Bi, which is precisely what we require. It's a new model from the Knowled Series, and we absolutely love it. It's incredibly slim, surprisingly powerful, and offers color temperature control, making it exceptionally versatile. And if there's one thing I've learned in this profession, it's that versatility is crucial. This light can also be controlled via an app, which means I can do this. I love it. I could go on about it all day.
We'll position this light directly over Alberto to cast a soft glow on him, just a subtle touch. The color temperature is slightly cooler this time to create separation in the image. Placing the F200Bi above our artisan's head allows us to reduce the shadows created by the M300Bi on his desk because if we simply move this light to one side of Alberto, the resulting image would appear flat and uninteresting.


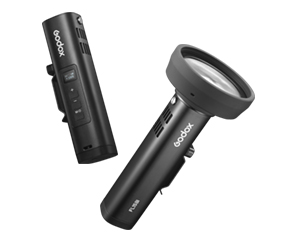
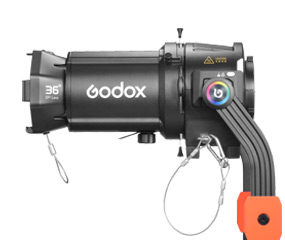
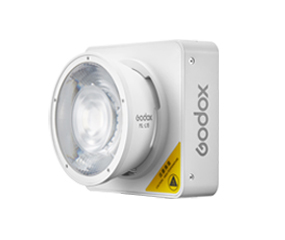
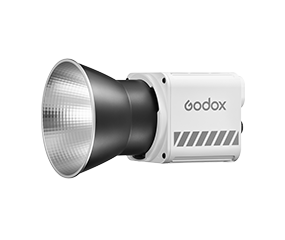
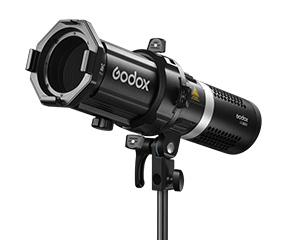
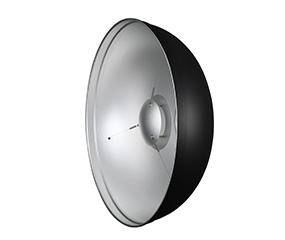
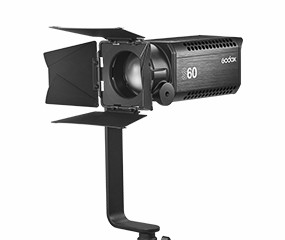
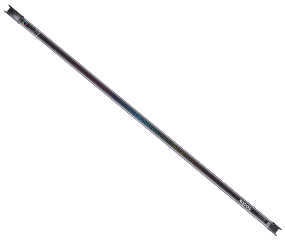
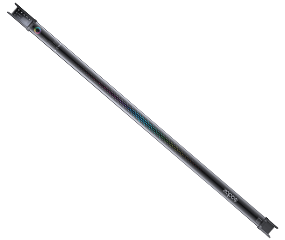
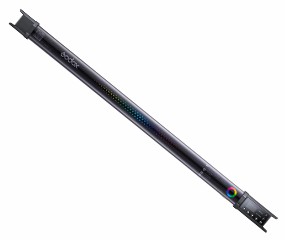
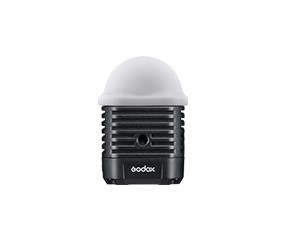
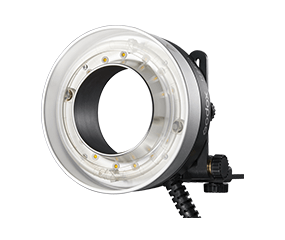
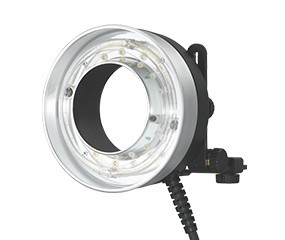
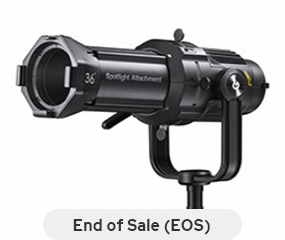
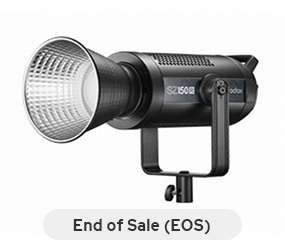
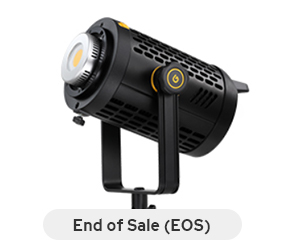
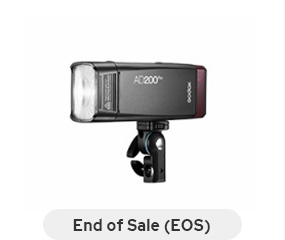
It's vital to find a balance between light and shadow, but we're not done yet. While Azzurra, our set designer for the day, works on making this place even more visually appealing, I have one more small concern. As you can see, the scene is still somewhat flat. We need to further distinguish the luthier from the background, and to achieve that, we require a backlight. We'll use the SZ150R and place it outside the workshop's door to cast light from there.

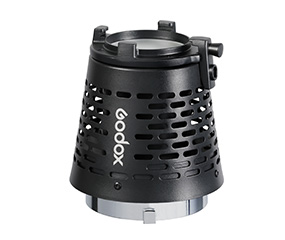
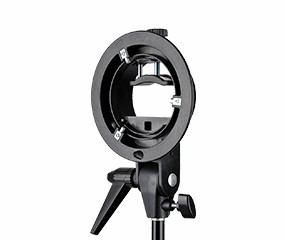
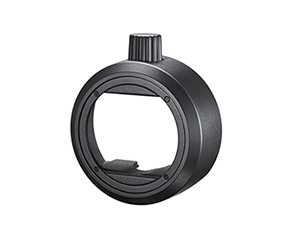
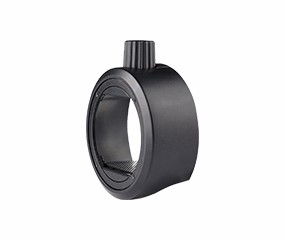
However, we want it to be focused on our subject, so Tommaso is attaching a spotlight accessory for precise light control. Why use the SZ150R? Well, its name is a tongue twister and quite amusing to say, and it's an RGB light, which means it's incredibly versatile. I always bring it with me, but this time we're using it because, as you might have guessed, it also offers color temperature control. Seriously, CCT is an amazing feature to have.

So, we now have a three-light setup, but it's not your typical interview or music video lighting. As I mentioned earlier, each video is unique, which gives you the opportunity to unleash your creativity. This time, I wanted to achieve the warm glow of a sunset, and I think we're getting very close to the look I had envisioned.

Step 3: Final Preparation
Now that our lights are in position, let's work on enhancing our scene with some additional details. Our aim is to create a space that feels both natural and magical.
We'll remove the bulb from this desk lamp and replace it with one that can be controlled via Bluetooth. This small adjustment allows us to motivate the light over the desk, making the entire scene more realistic.
Do you find that window distracting? I certainly do. I don't want to see what's outside, and the incoming light can be a bit harsh. That's why we always carry a curtain with us. This curtain adds a diffusion layer to our simulated sun and makes the room feel more authentic.

Lastly, to add a touch of intrigue and beauty to the scene, we'll use some haze. This is another common technique that isn't mandatory but helps create stunning and captivating images. It adds a tone to the scene by reducing some contrast, defining the direction of the light, and making the highlights glow.


Now, we are ready to start shooting, and as you can see, this room has undergone quite a transformation. I hope you've enjoyed this journey while setting up this scene. This process may seem a bit time-consuming, but it's all about practice. You just need to give yourself the time to explore new techniques and experiment with your equipment. After all, success in the Game of Lights comes with practice.